Every spring it feels like you’ve got all the time in the world to prep the garden.
Then, before you know it, daffodil season is over, and you’ve got a long list of spring garden prep tasks to do. It’s easy to fall behind.
But don’t get overwhelmed!
Preparing your garden should be fun. And especially if you live in a cold climate, it’s a great chance to finally get outdoors again!
So, how do you prep your garden for spring?
Typically, you’ll want to amend the soil first. This is the most important task. Plus, there are a bunch of other tasks I always do to get ready for the summer season. This is a guide to help you prepare your garden for spring.
When to Prep Garden for Spring?
As a rule of thumb, you’ll want to start garden prep about two weeks before your last frost date.
After the last frost date (which is May 15 in Zone 5 ), you can safely sow seeds outdoors and transplant your seedlings in the garden. Therefore, this gives you time to do essential tasks, prep the soil, and have your garden ready to go.
This frost date is a generalization. See the Old Farmer’s Almanac for more accurate estimates.
Additionally, you should think about soil temperature.
To germinate properly, seeds need the soil to be warm enough. Some plant seeds like the soil to be warmer, while some seeds are OK in cool soil temperatures.
One option would be to do your bed prep 1-2 days before you sow cooler temperature crops like spinach or kale. And generally, you can also do a lot of prep in the fall too.
Spring Garden Prep Checklist: To-Dos
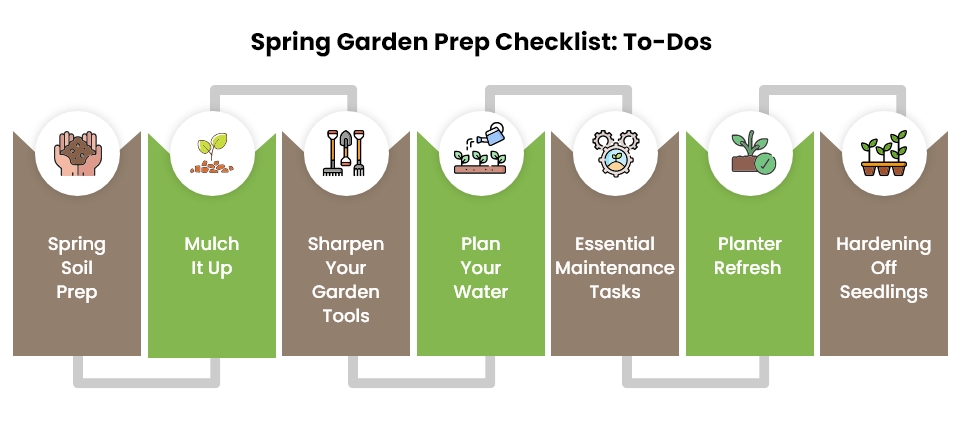
There are tons of things you do in the garden. But these tasks are essential. Your plants will grow stronger, and you’ll have fewer issues to “solve” in the middle of summer.
Here are the prep tasks I do every spring:
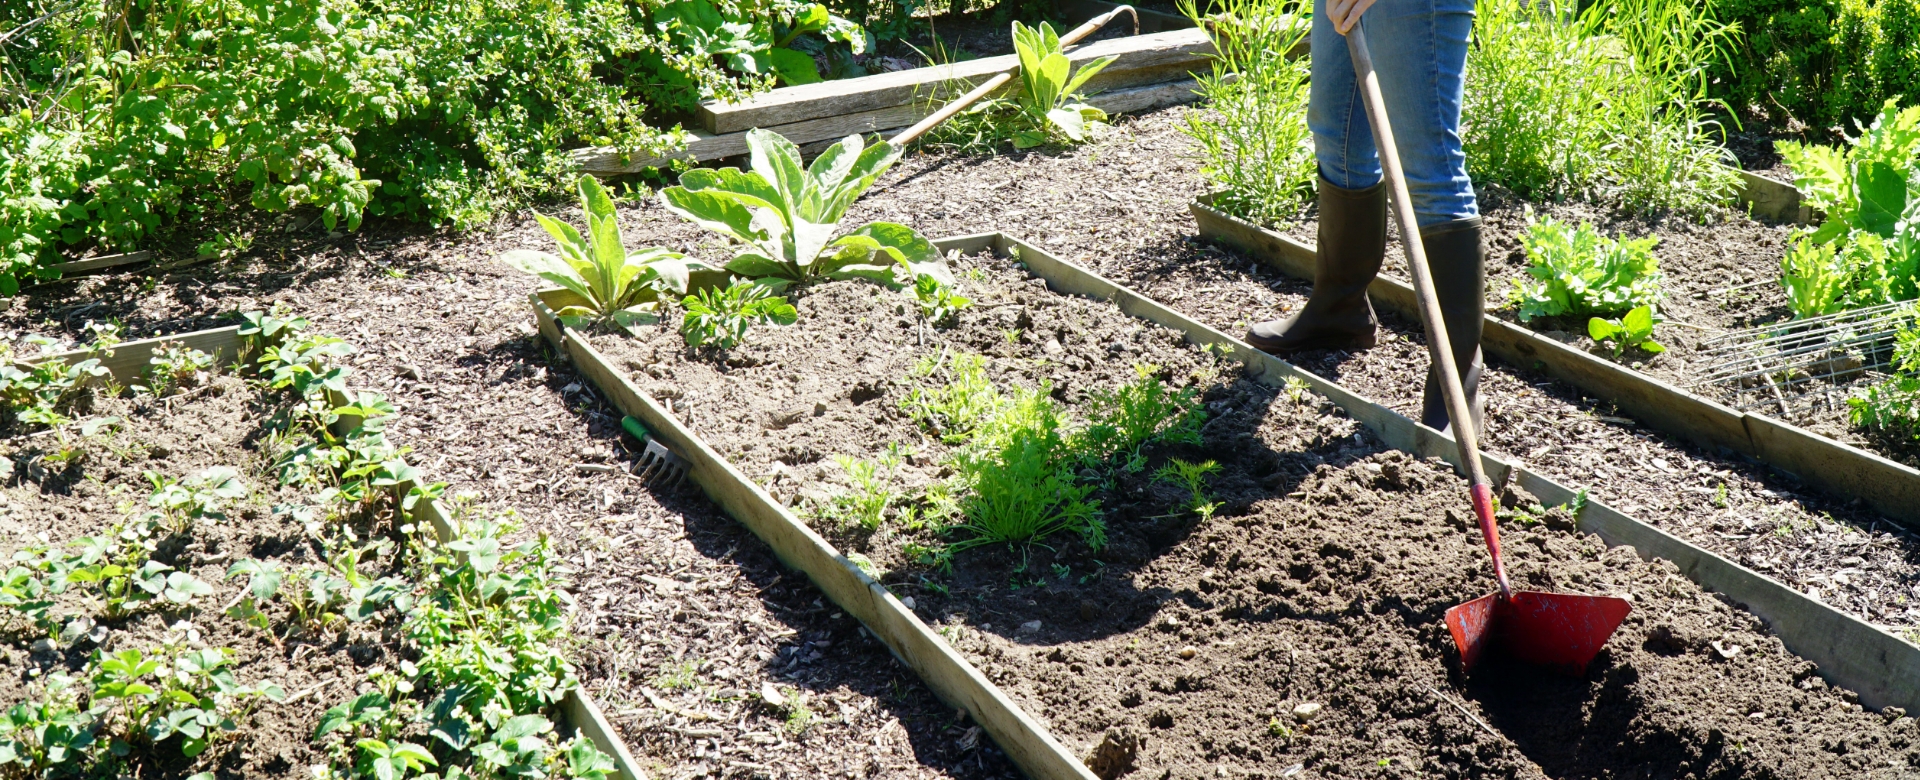
1. Spring Soil Prep
In the spring, you might be wondering: Do I need to do a soil test?
Sure! You can do one. A cheap soil test kit will help you understand your garden’s pH and nutrient content.
But I prefer to skip the soil test. Instead, here’s my method for veggie garden soil prep in spring:
- Clear and clean: Remove any leftover debris from last season like dead plants, branches, or rocks. If you used winter cover crops, cut them down, let the cuttings rest for a few days, and then turn them over as green manure.
- Loosen the soil: Use a shovel or tiller to break up compacted soil, especially if you have a new garden bed. Aim for 8-12 inches of loosened depth for good root growth.
- Add organic matter: This is a key step! Dig in compost, aged manure, or other organic materials like leaves (if composted) to enrich the soil with nutrients and improve drainage and aeration. Aim for a 2–3-inch layer of compost or aged manure.
- Mix it up: Once you’ve added your chosen organic matter, use a rake or garden fork to thoroughly blend it into the top 6-8 inches of your existing soil.
- Level and wait: Rake the surface smooth and level. Ideally, wait 2 weeks after adding amendments before planting to allow the soil to settle and any potential changes in nitrogen levels to subside.
Prepping your garden beds is the most important thing you can do. Aim to do this about 2-3 weeks before you plant outdoors.
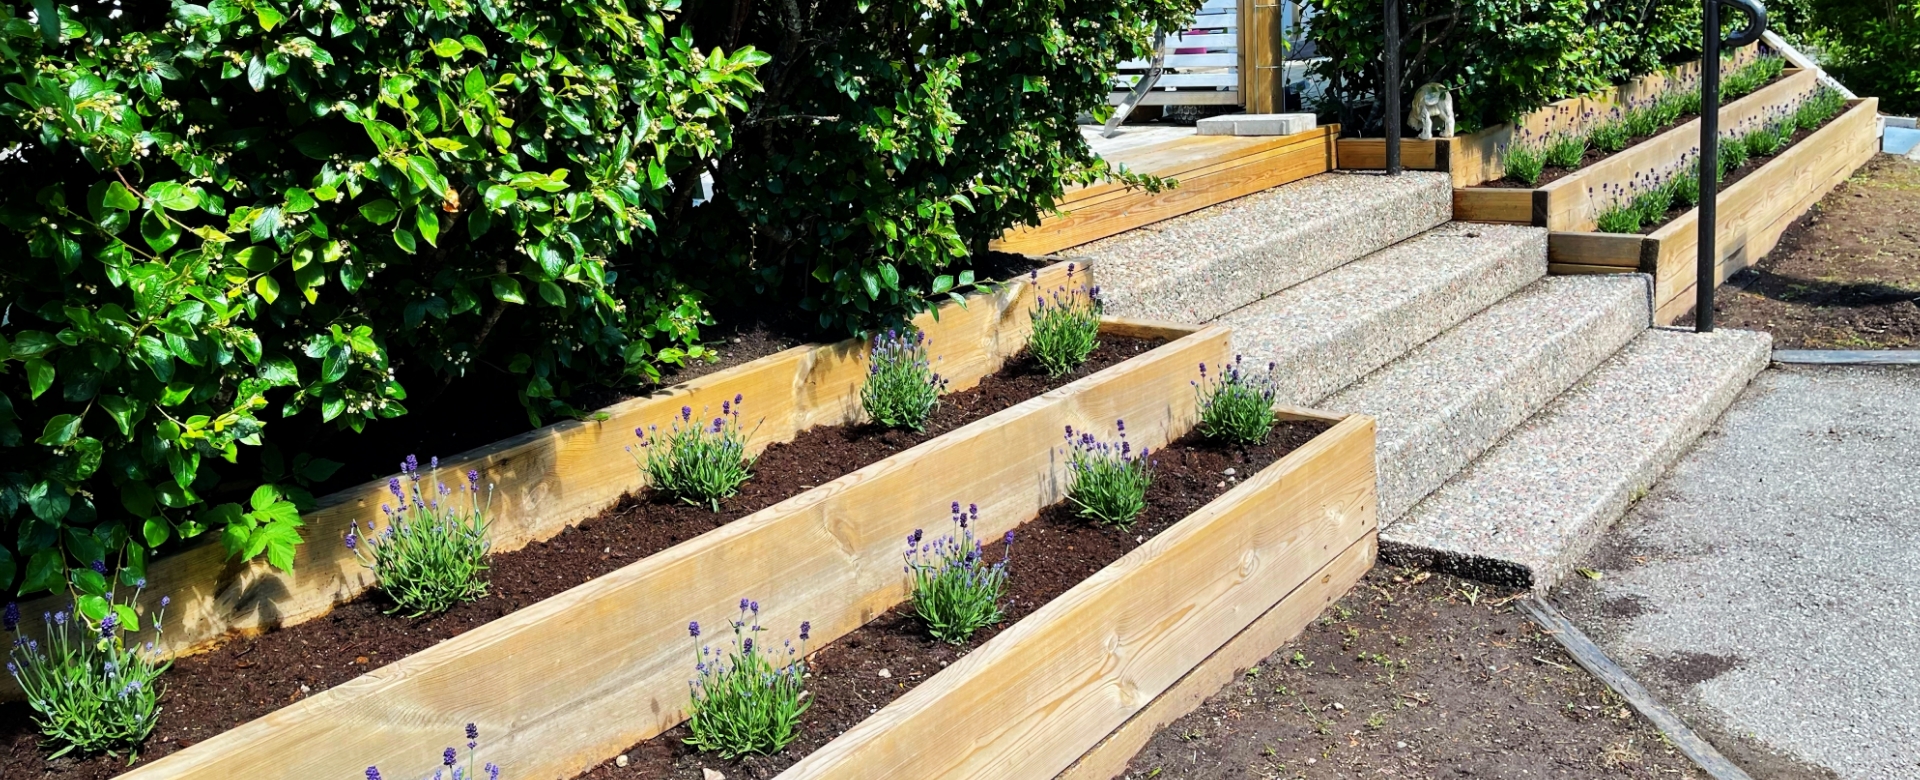
2. Mulch It Up
You don’t have to rush mulching. Depending on your location, you might start in late spring or early summer once your plants are in the ground and established.
In fact, adding mulch too early can hinder soil warming and promote disease.
So, as a spring task, you might start collecting or building mulch (like compost) or gathering straw. Plus, you might want to:
- Clear any weeds – Pull them to prevent them from competing with your seedlings.
- Create a border – Add edging like landscape timbers to your in-ground beds. This creates a clear line and makes maintenance easier.
Mulching tip. Water after mulching, especially if the weather is dry. This helps settle the mulch and ensures good moisture levels in the soil.
3. Sharpen Your Garden Tools
It’s easier to overlook this tip. But trust me, trying to prune with dull sheers is no fun (and can be harmful to plants).
First, here are the tools you should sharpen:
- Pruning shears – Sharpen the cutting blade (and possibly the anvil, if you have anvil pruners).
- Loppers – Sharpen the blade, like pruning shears.
- Hedge shears – Sharpen both sides of the shearing blades along their entire length.
- Shovels and hoes – Sharpen the leading edge at an angle of about 20 degrees.
How to Sharpen Tools in Spring
You can use a whetstone or file. I use a sharpening file for all my tools.
Just place the tool in a vice and then run the file over the edge in a sawing motion. Here’s a helpful overview view:
4. Plan Your Water
I’ve run into problems before, where I didn’t have a viable water source near a new planting.
In spring, it’s not a big deal, as there’s usually enough rain to suffice. But once summer hits, I’ve had to scramble to keep my plants watered.
So, first think about a water source. You might install a rain barrel in spring, as a free and natural source. Or if you’re using a hose, make sure it’s long enough and in good condition.
Then, settle on a garden watering strategy. A few tips:
- Delivery – Sprinklers, soaker hoses, or even watering cans. Think about how you’ll get water to plants.
- Schedule – Newly planted seeds and seedlings need frequent, shallow watering (daily or every other day), while established plants benefit from deeper watering (2-3 times per week).
- Automate – Get a hose timer! It’ll save you water and lots of effort!
- Monitor – Adjust your watering based on rainfall. Skip watering after a good soaking rain.
5. Essential Maintenance Tasks
Your garden maintenance list changes every year. But there are a few areas to look after in the spring.
They include:
- Flowerbeds – Clear away dead leaves and winter debris.
- Divide perennials – Divide perennials like mint, day lily, and yarrow in spring. Just dig up the clump, separate the roots, and then replant the smaller clumps.
- Mulch perennials – Add a fresh layer of mulch (about 2-3 inches).
- Prune shrubs and trees – Remove dead, diseased or damaged branches to shape the plant and encourage new growth.
- Fix up garden structures – I built some trellises out of pine that only lasted about 3 seasons.
- Clean up bird feeders / houses – Give your feeders and houses a quick clean.
6. Planter Refresh
Disinfecting planters isn’t fun, and it’s not something I did until recently. But it will help you prevent the spread of disease and pests (which like to linger in unused planters during winter).
I tend to get the best results with a light pressure wash. Here are a few quick tips to follow:
- Remove old soil.
- Add a bit of soapy water and scrub with a brush.
- Spray with a light pressure wash.
- Then disinfect. (I use a mix of vinegar and water and scrub the interior.)
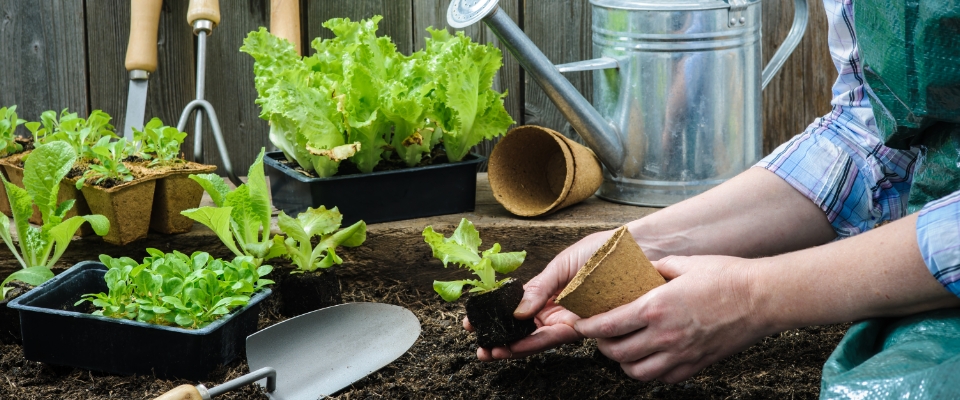
7. Hardening Off Seedlings
Last but not least…
If you started seeds indoors, you’ll need to harden off your seedlings. Young seedlings are tender, and they aren’t ready for harsh sunlight.
So, you need to gradually introduce indoor seedlings to outdoor conditions. This will help you avoid transplant shock and get used to wind and temperatures. Here’s a simple way to do it this spring:
- Start a week before your last frost date.
- Pick a protected spot with dappled sunlight and no wind.
- On Day 1, put seedlings out for 1 hour, then bring them back in.
- Increase outdoor time by 1 hour each day.
- Gradually introduce more sunlight over a week.
- After a week, seedlings can stay out overnight if frost risk has passed.
Then, you’re ready to transplant your seeds into the garden! And you’ll be done with garden prep for spring!
What Spring Garden Prep Tasks Are You Doing?
This is a brief checklist, and it covers the top things I do in the garden every spring. These tasks will help you start the summer growing season off on the right foot.
But, of course, there are other things you can do and plenty of experiments to try. Did we miss something? Let us know in the comments.
Maybe this season, you’ll hill potatoes or start a no-dig flower bed. Spring’s the best time to plan and get it done right.
Homegrown Outlet has everything you need to grow your garden. From premium bagged soil mixes, to nutrients, pots, and garden tools. Visit a location in New York today!
FAQs
Matthew Davis
Matt writes about gardening for Homegrown Outlet. An experienced home gardener, Matt spends his summers tending to a backyard raised-bed garden, where he tests new pepper varieties each season. His gardening interests include composting, garden design, and heirloom veggies.