You might still be months from preparing a garden bed for spring planting.
But remember, it’s never too early to start planning. In fact, it’s one of my favorite ways to spend the winter months: Planning my spring garden.
Picking heirloom seeds to try, planning layouts for new beds, and thinking about what methods I’ll use to prep beds when spring is finally here.
What’s the best way to prepare a garden bed in spring?
Really, it depends. Is it a new bed or an existing plot? Has the garden been well-maintained, or did you miss the last growing season?
In general, reviving or starting garden beds requires more prep. You’ll need to plan layouts, remove sod, and amend the soil. For a well-maintained garden bed, prep is a lot easier. You might just need to do a little soil loosening and top-dress with compost.
Need some ideas? Here’s everything you need to know about preparing a garden bed and soil for spring planting. Follow these six steps for higher yields this summer.
1. Making Your (Garden) Beds
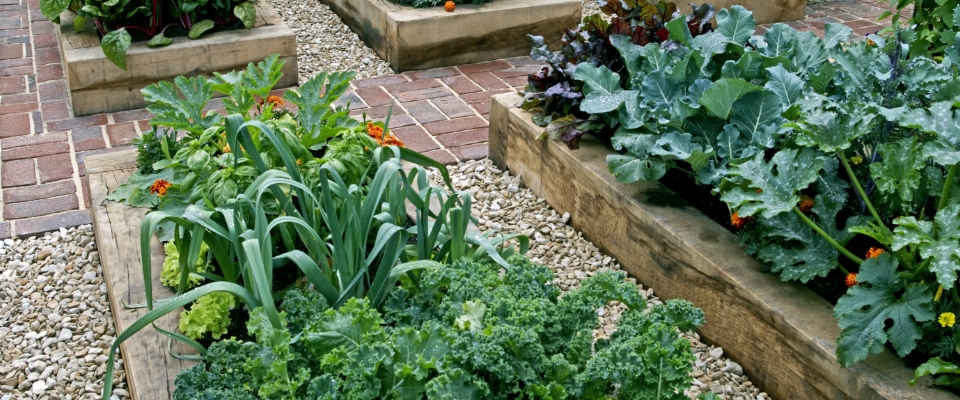
If you’ll be preparing new beds, first plan the garden’s layout. This is one of my favorite parts!
Just remember to consider:
- Sunlight / Shade – Vegetable gardens generally need full sun (especially if you’re growing tomatoes, peppers and melons). However, you might like a partial shade wildlife garden.
- Water Access – Is there a water source nearby? One year, I created a garden near my barn, but which, having just moved in, I didn’t realize had no water source. Luckily, adding a gutter to the barn with a downspout into a rain barrel
solved the issue. - Soil Condition / Drainage – Think about the soil. Most garden plants (especially veggies) like well-draining, rich loamy soil. You may need to amend the soil, if conditions aren’t right.
- Traffic Flow – Consider traffic flow in the garden (e.g. aisles and paths) and access to machinery. For example, if you’ll a couple yards of soil, the closer the dump truck can get the better. (Another one I learned the hard way!)
- Garden Style – Let your inner Martha Stewart run wild! Create the garden you want to spend time in, whether that’s an English garden or manicured raised bed garden.
You might also consider wind. Avoid areas prone to high winds or consider installing wind screens, if you don’t have another option.
2. Slay the Sod for New Beds
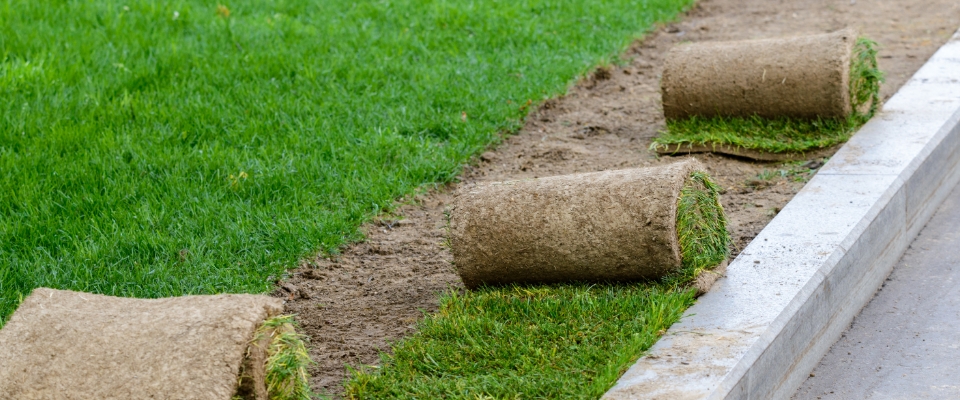
If you’re preparing a new garden bed, you’ll need to remove the vegetation around the bed.
There are a bunch of different ways to do this. I typically like the no-dig approach, as it’s easier and much less labor intensive. But they require patience. Tilling is also effective (and fun!) but will disrupt the soil structures.
Here are some soil prep methods for removing sod:
1) Smother It!
Sounds a little barbaric, but it works.
Simply lay cardboard or newsprint over the soil. Use enough to create 4-6 layers of newsprint. This blocks sunlight and moisture from reaching the sod. And it will slowly kill off the undergrowth.
You can do this in early spring, and then plant over the top after about 6-8 weeks. (Just add a layer of garden soil over it.) But it probably works best in late summer.
2) Solarize It!
This idea is similar to the above. But instead of paper, you’ll use clear or black plastic. A tarp or 1-2 mill clear plastic works best.
Solarization creates a greenhouse over the ground that traps heat. This heat kills the weeds, sod and diseases in the soil, creating a sterile bed for planting.
The only caveat? This method works best in warm weather in mid-summer.
3) Till It!
This is the faster method to prepare a new garden bed. First, you should remove the sod. This is optional; you can also just till it right into the soil. But removing the sod first can help prevent weed growth.
Then, follow these tips:
- Make multiple passes. Depending on the sod’s thickness and your tiller’s power. Start with the top 4-6 inches, and then make a pass to go deeper.
- Amend the soil. Incorporate compost, aged manure, or other organic matter to improve fertility and drainage.
- Level it off. Use a rake or shovel to level the soil and remove any large sod clumps.
4) Compost It!
This method cuts down on labor. And you might hear it called sheet composting. Essentially, you create a deep layer of organic materials over the sod.
For example, you might layer kitchen scraps, leaves, manure, and yard waste. Over time, this will smother the sod and create a nutrient-dense soil base.
5) Build It!
You can also build a bed right on top of the sod. There are many methods.
Raised bed gardens work but do require you to haul in rich soil to fill the beds. You can also create a lasagna garden. Basically, you’ll follow the first method and build a layer of cardboard. Then, add organic materials, and finally a layer of soil over the top.
3. Fluff Your Garden Beds
Your gardening style will dictate the soil preparation methods you use. For example, I tend to use a no-dig gardening style. But generally, you’ll need to either:
Loosen the Soil
You can till it deep or use a claw tiller and do it by hand. Loosening up the soil will help:
- Prepare the beds for planting
- Warm the soil
- Improve the drainage
- Improve aeration
- Make weeds easier to remove
- Distribute nutrients more evenly
A deep tilling generally goes down 10-12 inches. You could also try double-digging. This method is very labor intensive (that’s why I’m not the biggest fan). You’ll dig two trenches in the bed and add amendments to enrich the soil.
Top Dressing
Another method that many gardeners love: Simply top dress the soil with compost.
You’ll want to add 2-4 inches of compost to the soil. Note: This works best if your soil is already naturally well-draining and loose. Your garden beds must be well established. This isn’t a great method, if you’re preparing new beds or reviving beds.
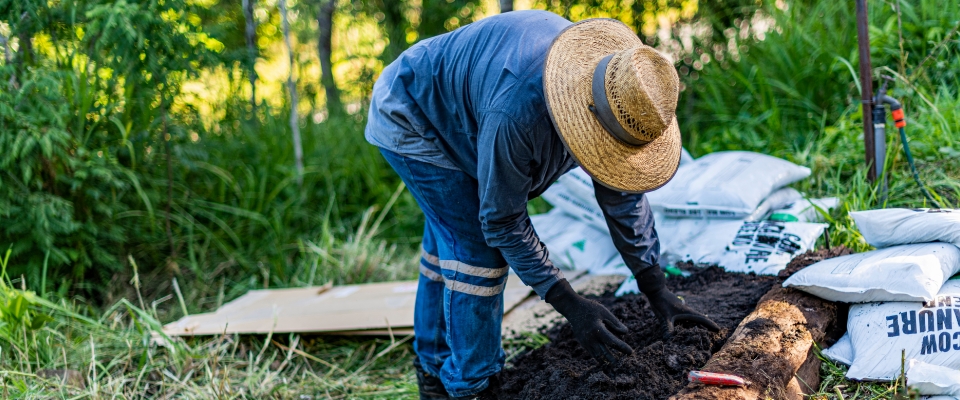
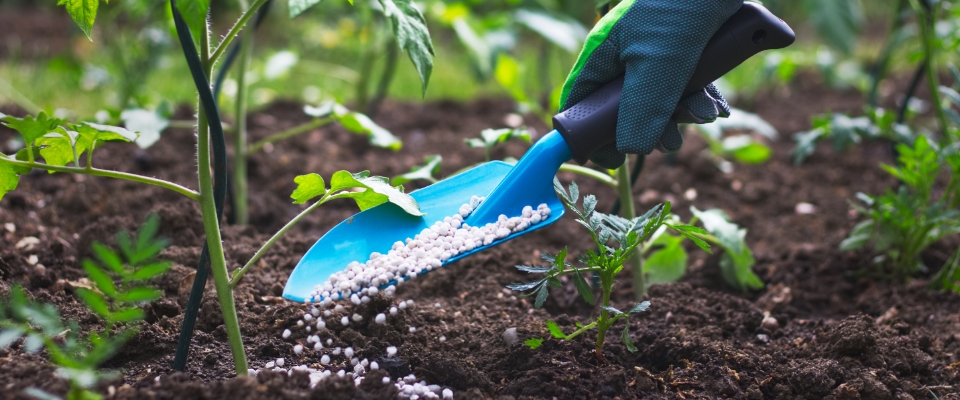
4. Feed Your Beds!
If you’re top dressing with compost, you’re likely doing enough.
But for freshly tilled garden beds, you need to add a bit to make the soil more fertile.
Generally, a 1-2 inch layer of compost will suffice.
I tend to like my “homegrown” compost. But the bagged variety works well too. Another option is a fertilizer that’s rich in Nitrogen, Phosphorus and Potassium.
You’ll also need to amend the soil for specific conditions.
For example, soil that doesn’t drain, you might add coarse compost or perlite to help loosen it up. Amending with worm casting can also help.
5. Cover Your Bed in a Cozy Mulch Blanket

Mulching is another important garden prep step. Mulch provides a lot of benefits:
- Weed suppression
- Moisture retention
- Moderating soil temps
- Weed suppression (Yes, this one needs to be mentioned twice!)
Mulching is straightforward. Just cover your beds in a material like straw or shredded leaves.
How much should you add? For fine materials like shredded leaves or grass clippings, stick to a 1–2-inch layer. This will prevent compaction and clumping, which can limit water and even rot plant stems.
For coarser materials like loose compost, aged manure and composted woodchips, aim for a 2–4-inch layer. You might also add more, if your garden is in a dry climate (3-4 inches)
6. Plan Your Watering System
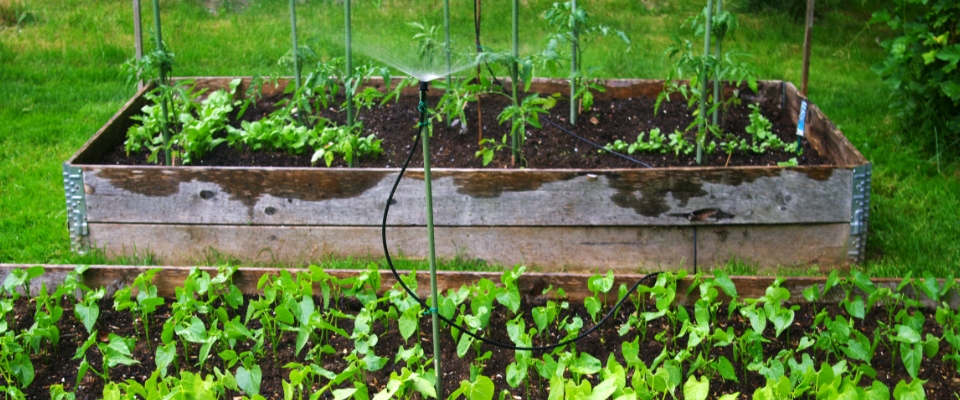
Create a watering system for your garden. You don’t want to forget it, trust me. I’ve had to haul water to the garden before, and it is very time consuming!
A few options to consider include:
- Sprinklers: Broad coverage and relatively inexpensive. Rotating sprinklers are good for lawns, while oscillating sprinklers suit flower beds.
- Overhead misters: Ideal for greenhouses or delicate plants, they create a fine mist that minimizes water waste.
- Soaker hoses: Efficient and water-saving, but not suitable for uneven terrain.
- Drip irrigation: Highly efficient and minimizes water waste but requires initial setup and maintenance.
- Rain barrels: Collect rainwater for a sustainable and free watering source. Requires a suitable barrel, stand, and gutter connection.
Generally, if you have a hose outlet nearby, you’ll be fine!
Wrapping Up
There you have it! Follow these steps each spring and you’ll have perfectly prepared garden beds.
But remember, although effective set-up helps, gardens require maintenance. You’ll need to weed regularly, replenish mulch, fertilizer and care for your garden beds for better results.
What are your plans for the season? Let us know what garden prep methods you use in the comments?
Gardening in Zone 5 in New York? Visit a Homegrown Outlet location for all your organic and hydroponic gardening needs. We have everything you need to get growing! Visit a location today!
Matthew Davis
Matt writes about gardening for Homegrown Outlet. An experienced home gardener, Matt spends his summers tending to a backyard raised-bed garden, where he tests new pepper varieties each season. His gardening interests include composting, garden design, and heirloom veggies.