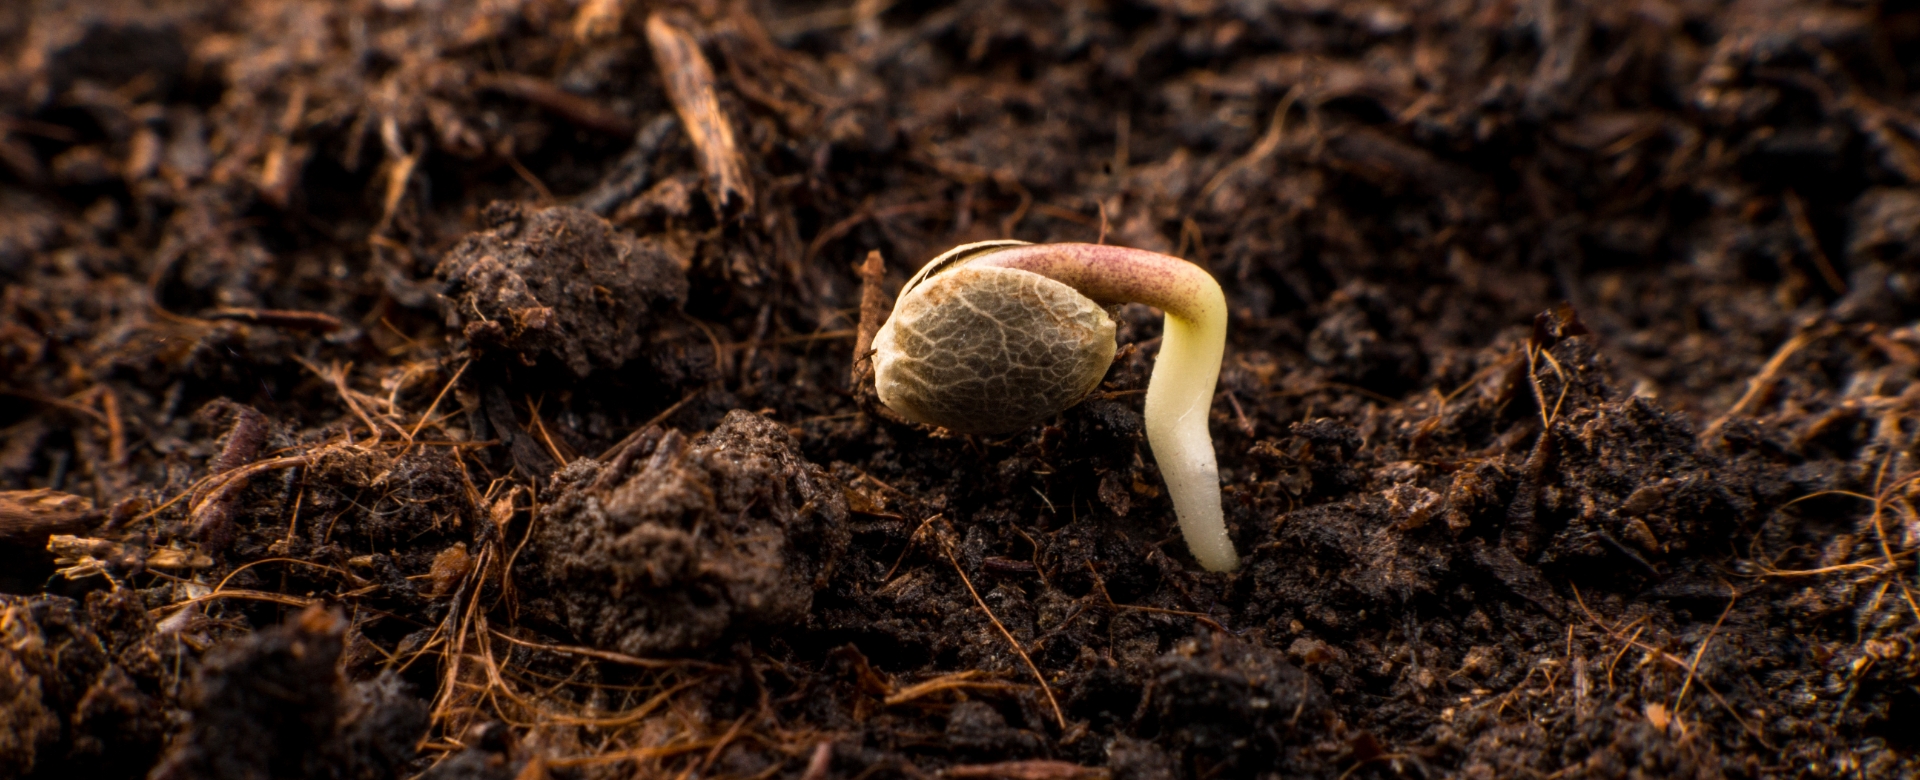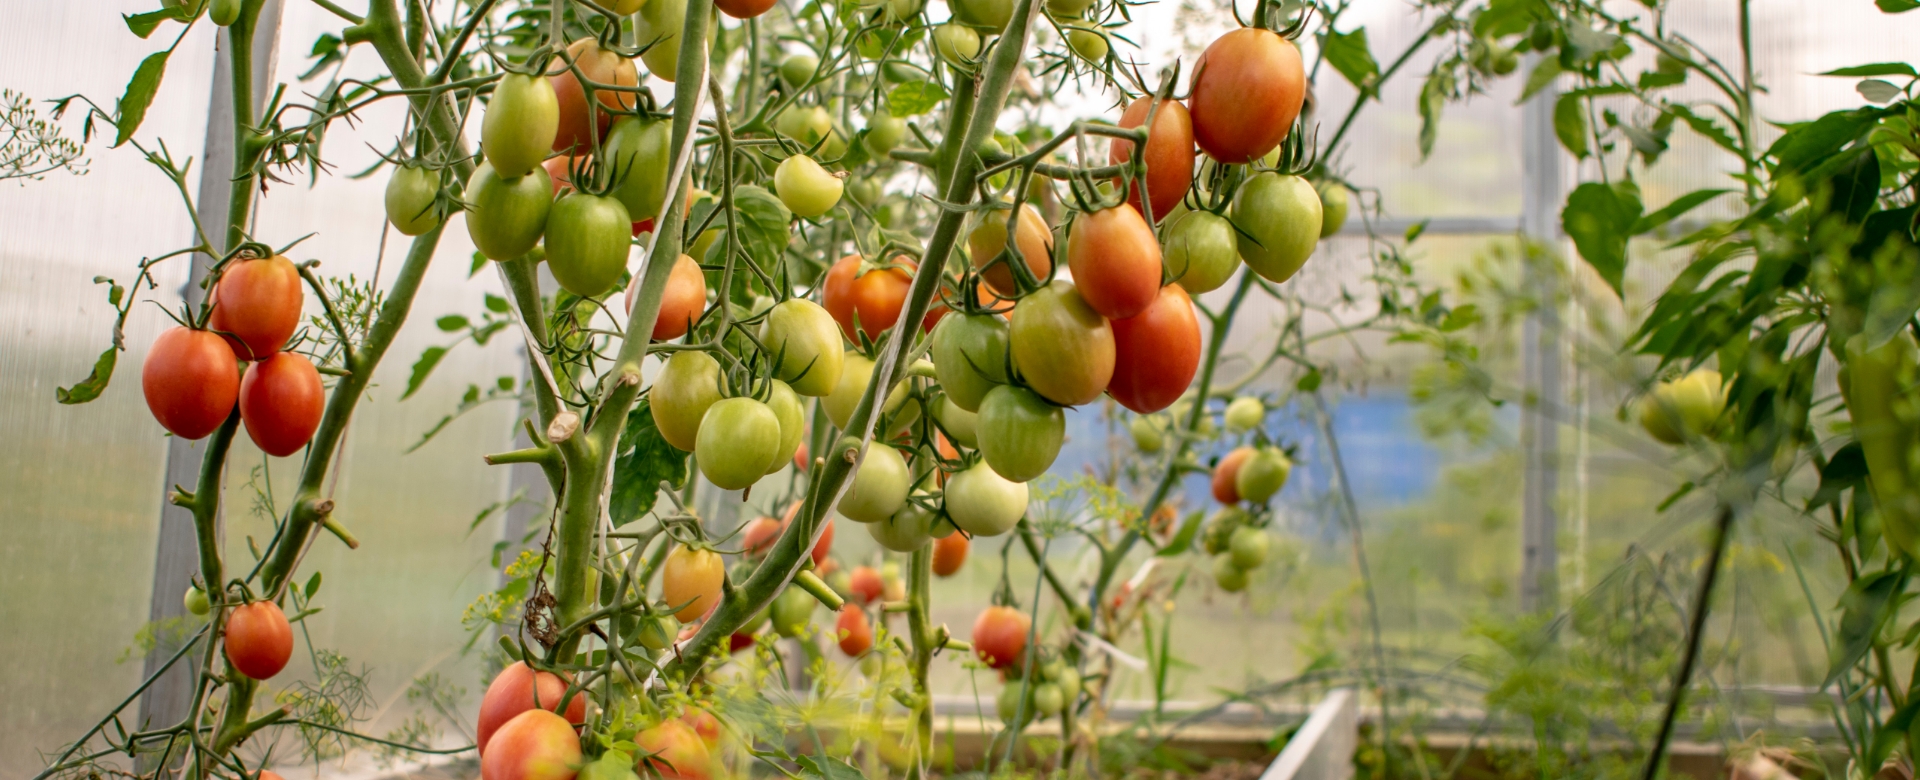
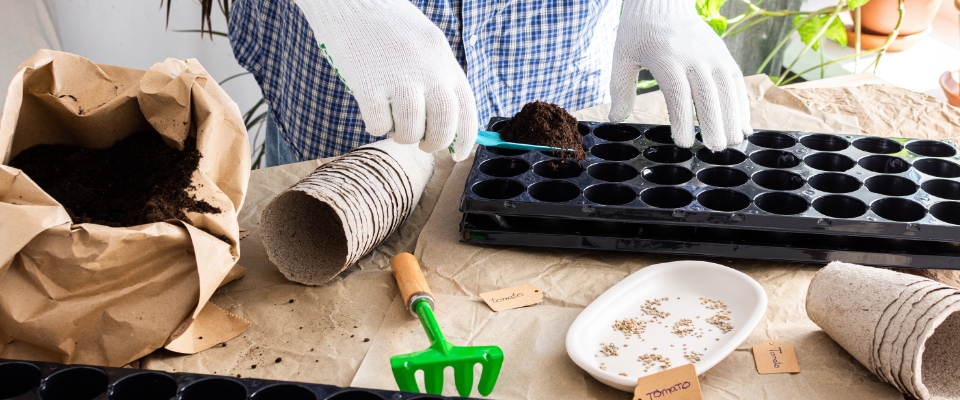
Winter is seed starting season. I always find that starting my tomatoes this time of year helps calm my cabin fever.
Fortunately, you don’t need a lot to start seeds. Just seeds, a quality seed starting soil, and a light (or sunny windowsill) — that’s it.
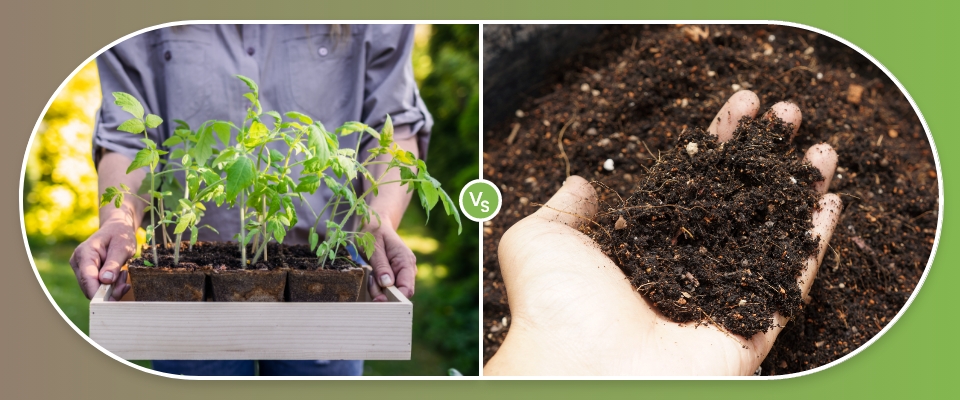
One question you might have: Do I really need to use seed starting soil? Or can I use potting mix to start seeds?
Potting mix can work. And it can make transplanting easier. But the best seed starter soils actually help you increase germination rates.
Here’s why:
First, seed starting soil is sterile. This one is big. Seedlings are very susceptible to pathogens. And sterile starting mix reduces the risk of damping off, a common seedling disease. Second, seed starting mixes are super light and have an even texture. This improves drainage and encourages strong root growth, e.g. happy baby plants!
In short, if you’re serious about getting an early start, find a good seed starting soil or create your own.
Although it’s a starter soil isn’t 100% necessary, it does make seed starting easier. And I’ll explain the why (and how to create your own) in this short guide.
What the Heck Is Seed Starting Soil?
If you’ve browsed the bagged soil options at your garden supply store, you know there’s endless choices. Garden soil, potting mix, vegetable and herb mix, raised bed mix…
You’ll also notice a surplus of seed starting mix on the shelves in late winter and spring. Here’s a short definition of what seed starting mix is: Seed starting soil is specially formulated to help seeds germinate and develop strong roots. For starters, it has a very fine texture, without large pieces of bark or dirt clogs. And it drains well, while retaining moisture, which is important for seed germination. That’s why the most common ingredient is peat moss.
So, let’s take a closer look at what makes a good seed starting mix.
Key Characteristics of a Soil Starting Soil
Soils for seed starting are formulated to boost germination. These are some key characteristics, along with how they benefit seed germination:
- Fine texture: This encourages good seed-to-soil contact, allowing for even moisture absorption. The texture is important for keeping the seed moist and preventing the medium from drying out.
- Excellent drainage: Seed starting mix is well-draining to prevent water from pooling around the seeds. Too much water can lead to seed rot and fungal growth.
- Sterile: Seed starting mix is typically free of pathogens. This is a big cause of damping off, a disease that infects seedlings near the soil line. Dampness and cold are the two common causes.
- Lightweight, Airy: Unlike potting soil, seed starting mix is lightweight and airy, allowing for better root development and gas exchange. Root development is big during this stage.
- Little-to-no nutrients: Seed starting mix contains very low levels of nutrients. This is because plants have all the nutrients they need in the seed, and too much can cause issues like stem rot.
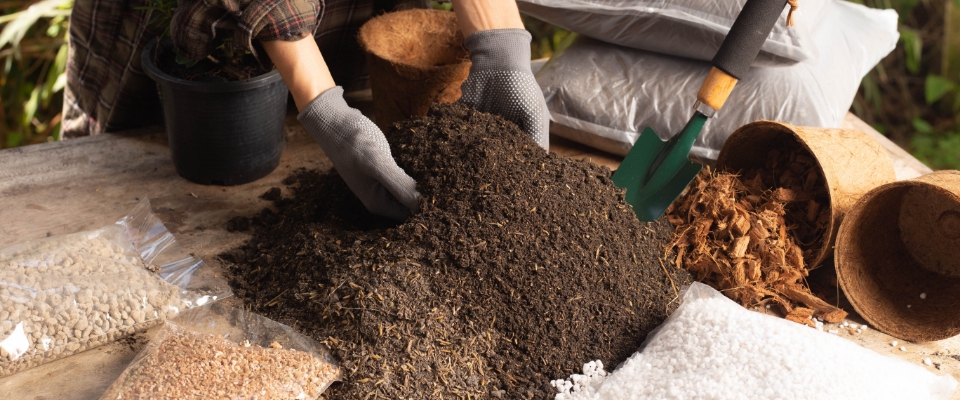
Most Common Ingredients in Soil Starting Mix
Most seed starter mixes don’t even contain soil. Instead, they’re “soilless” and contain a mix of organic ingredients. The most common include:
- Peat moss: Moss retains moisture and provides some structure. It is lightweight and has good aeration, but it can be acidic and become hydrophobic (water-repelling) when dry. Mixes contain about 40% peat moss.
- Coconut coir: A sustainable alternative to peat moss, coconut coir is made from the husks of coconuts. It has similar moisture-retaining properties but is less acidic and does not become hydrophobic.
- Vermiculite: This mineral is heat-treated and expands, creating air pockets in the mix and improving drainage and aeration. It also helps retain some moisture. This contributes about 50%.
- Perlite: This volcanic rock is lightweight and sterile, and it improves drainage and aeration in the mix. It does not retain much moisture on its own. This accounts for about 10% of mixes.
Peat Alternatives
Peat moss isn’t a sustainable ingredient. In fact, the UK is banning it for use by home gardeners in 2024.
Fortunately, renewable alternatives are available. Coco coir is probably the most widely available. However, there are upcycled peat-free sources made from paper like PittMoss, rice hulls or leaf mold.
Seed Starting Soil vs Potting Mix: Key Differences
As mentioned, in a pinch, you can use potting soil to start seeds. But it’s not ideally suited for seed starting. Here are a few reasons why:
- Heavier and coarser texture
- Holds more moisture
- May contain fertilizer
- May not be sterilized
Potting mixes, like seed starter soils, are formulated for special growing conditions. They’re typically used to support established plants that you intend to grow in containers. Container-grown flowers, herbs and vegetables have special needs, which potting mixes meet.
For example, an established plant has already developed a root system and has bulkier vegetative growth. Therefore, this type of plant needs a heavy medium that provides support and that holds more moisture for their larger root system.
How Is Potting Soil Made vs Seed Starter?
Potting mixes and seed starting soil contain many of the same ingredients. Peat moss, perlite and vermiculite, for example, are all common components.
However, the peat moss tends to be coarser, which can stunt root development. Plus, these mixes tend to include fertilizer, sand, and bark or wood chips (which are primarily filler). Shredded bark can obstruct seedlings, while fertilizer in large quantities can overstimulate developing seedlings.
Most importantly, potting mixes tend to not be sterilized and, therefore, have a higher risk of carrying pathogens. This leaves seedlings susceptible to damping off, fungus and mold growth.
I Only Have Potting Mix. What Do I Do?
Potting mixes work great for houseplants, container-grown shrubs and vegetables, and for transplanting your seedlings. But let’s say you’re in a pinch. You only have access to potting mix.
There are some steps you can take to improve your germination rates:
1. Shifting the Mix – Remove larger bark or wood chip pieces and try to create a finer texture.
2. Adding Aerators – You can try to add 1 part perlite/vermiculite to 3 parts potting mix.
3. Avoid Fertilized Mixes – If you must use potting mix, choose a non-fertilized brand.
Ultimately, you direct sow seeds in the garden and they do just fine. So, standard potting mix will likely work fine. But these tips will certainly help you create better conditions for germination.
Make Your Own Seed Starter Soil: 2 Options
You can create a simple seed starting medium at home. Most ingredients are available in bulk, and you can mix them quickly to create an ideal growing medium.
However, soil blocks are another option. Soil blocking refers to creating dense clumps of soil that you start seeds directly in. Not only does this provide a great medium, but it also eliminates the need for seed starting trays.
Option 1: DIY Seed Starting Mix
The ingredients you’ll need are perlite or vermiculite, compost and peat moss (or an alternative like coco coir PittMoss, a paper-based alternative).
This basic recipe is effective for starting various seeds. But you may want to tweak it, depending on the type of seeds you are starting.
Ingredients
- 2 parts compost: Use aged, well-sieved compost to avoid introducing weed seeds or pathogens.
- 2 parts coir (coconut fiber): Soak compressed coir in water until fully hydrated and break it up into small pieces.
- 1 part perlite: Provides aeration and drainage.
You might also consider mixing in worm castings (replace about half the compost with this) and azomite a type of rock dust, which adds a small dose of trace minerals.
Instructions
- Measure and combine the dry ingredients: In a clean container, mix the compost, coir, and perlite thoroughly.
- Moisten the mix: Slowly add water, mixing evenly until the mix is damp but not soggy. It should feel like a well-wrung sponge.
- Fill your seed starting trays or pots: Gently press the mix down to remove air pockets.
- Plant your seeds according to individual seed packet instructions.
- Water carefully: Keep the mix consistently moist but not waterlogged.
Option 2: DIY Soil Blocks
Using this technique, you compress soil into small bricks. The idea is like rehydrated peat pellets, which are another common seed starting medium. Although it’s time-consuming, soil blocking cuts down on plastic use. You won’t need seed plugs!
You’ll also need a soil blocker. For larger plants use a 2- to 4-inch blocker, and a three-quarter-inch blocker for smaller seeds. To create soil blocks, you will mix these ingredients:
- 3 cups of coco coir (or peat moss)
- 2 cups perlite or rice hulls
- 1 cup garden soil
- 2 cups compost (shifted for a fine consistency)
- A small amount of fertilizer (optional)
In a container, mix these ingredients well. You might also want to shift them again. You’ll then add water and mix again. Generally, you’re aiming to include moisture, without waterlogging the soil.
Once it’s mixed, you can then use your soil blocker to press the mix into cubes. Then, gently remove each cube and you’ll be ready to go. This method is great, because the moisture will bind the block for the first week or two. No need for seed plugs! Then the roots will begin to hold the brick together.
Caring for Seed Starts
So, you’ve created a starting mix. Now what? Here’s a simple process for caring for seed starts and introducing light:
Watering
Moisture is a key ingredient in seed starting and germination. Follow these tips:
- Keep the mix consistently moist but not soggy. Overwatering is a leading cause of seedling failure.
- Use a gentle spray bottle to avoid disturbing the delicate seeds.
Temperature
Temperature is also very important. Maintain a warm environment for most seeds, typically between 65-75°F (18-24°C). A heat mat can be helpful for maintaining consistent warmth, especially for early spring sowings.
Light
Seeds generally don’t need light for germination. In fact, some seeds even require darkness to germinate. Refer to individual seed packet instructions for specific light requirements. Here are some tips:
- Once seedlings emerge, they need light for healthy growth.
- Start with a few hours a day and gradually increase the duration over a week, mimicking natural sunrise and sunset.
- Aim for 14-16 hours of bright light daily.
- A south-facing window is ideal, but if natural light is insufficient, supplement with grow lights. Position the lights close to the seedlings (around 2-4 inches) and adjust as they grow.
- Keep up with watering. Artificial light can and will dry out your seed plugs.
Wrapping Up
Starting seeds is one of my favorite gardening activities. Not only does it give me a head start (I’m in Zone 5), but it also keeps me connected to the garden, even in winter.
I typically prefer using seed starting mix. It’s given me the best germination rates, and it’s cheap. But I have also experimented with DIY alternatives and using potting mixes. And I’ve had OK success with that too.
I guess what I’ve learned is that plants are resilient. And if you nail the two most important requirements, moisture and heat, you can make many mediums work. But a seed starter soil tends to provide the best results.
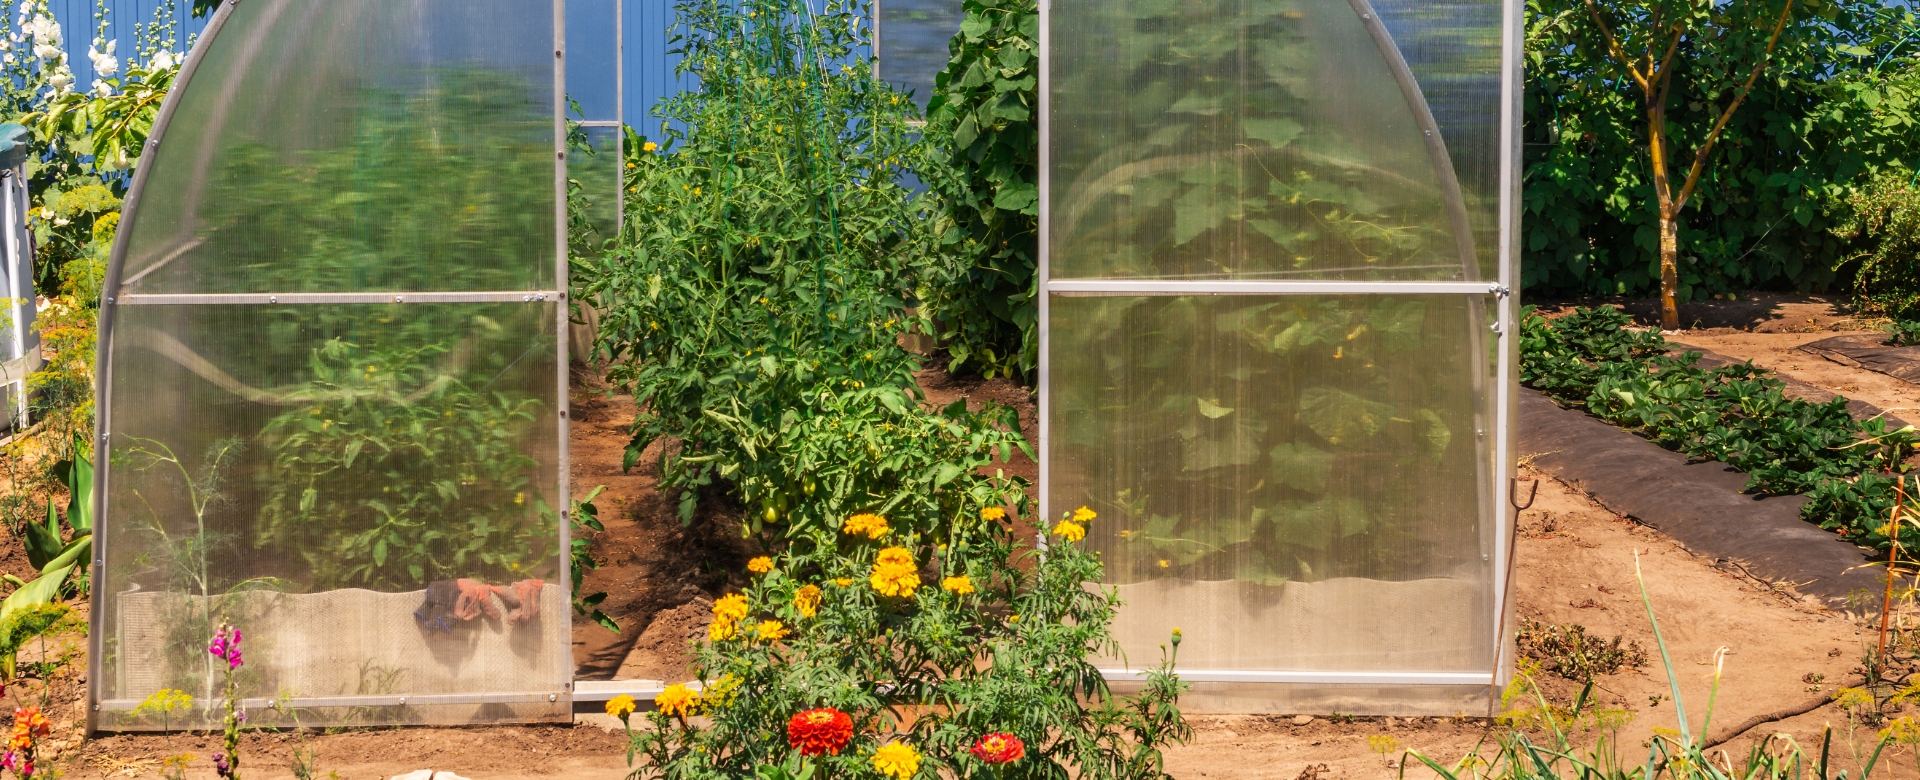
Want to get a jump start on the growing season? Head over to your local Homegrown Outlet location for grow lights, soil mixes, greenhouse kits and more.
Matthew Davis
Matt writes about gardening for Homegrown Outlet. An experienced home gardener, Matt spends his summers tending to a backyard raised-bed garden, where he tests new pepper varieties each season. His gardening interests include composting, garden design, and heirloom veggies.