Peas are a favorite cool-season crop, and they’re often one of the first vegetables home gardeners can harvest in the spring. Plus, as a cold-weather lover, peas also do well later in the season.
The good news: Growing peas is relatively easy. They tend to have high germination rates and do well in garden areas with partial shade. In other words, peas are a wonderful addition to your vegetable garden.
Need some help to get started? Check out our growing guide for peas, to learn how they grow, the growing stages of peas, and tips for harvesting and storage. Plus, we also count down some of our favorite pea varieties to grow and how to grow them in containers.
Growing Peas 101: Step-by-Step Guide
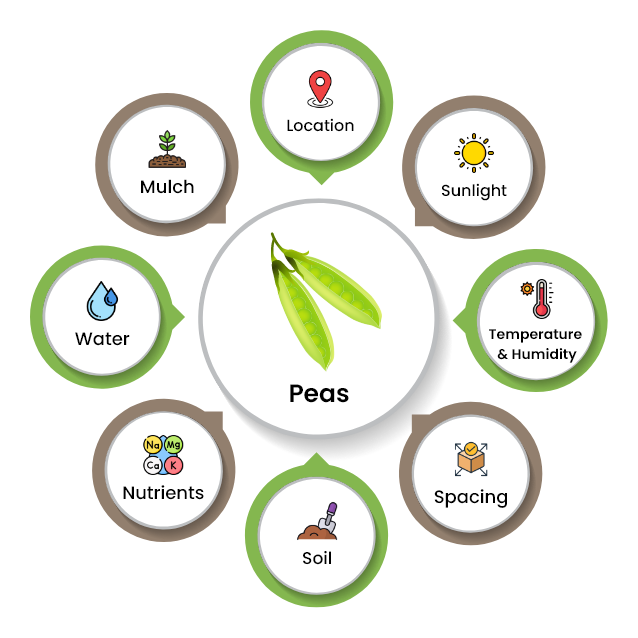
1. Location
Select a planting location that receives 6 hours of direct sunlight daily. Areas with afternoon shade are great.
2. Temperature and Humidity
Peas grow well in mild temperatures between 60-70°F. Moderate humidity levels between 50-70% are ideal for growing peas.
3. Spacing
Space pea seeds about 1 inch deep and 2 inches apart.
4. Soil
Well-draining, loose soil which has a pH range of 6.0-7.5 is suitable for growing peas.
5. Nutrients
Peas aren’t a heavy feeder. Therefore, you likely won’t need to add much to the soil; instead, they’re a nitrogen-fixer and collect nitrogen from the air.
6. Water
Pea plants require 1 inch of water every week for their best growth.
7. Mulch
Apply organic mulch like straw, grass clippings, and shredded newspapers to the plant.
How to Grow Peas from Seeds?
- Sow seeds indoors in seed trays.
- Fill the tray with multipurpose compost.
- Sow seeds 1 inch deep and space them 1 inch apart.
- Keep them in bright light and water them well.
- Harvest young plants in three to four weeks when they grow tall, about 4-6 inches.
- Peas tend to be difficult to transplant and have delicate roots.
- If you intend to transplant them, consider sowing them in pods you can place directly in the hole. Light cardboard pods or DIY pods made of newsprint work well.
How to Grow Peas in Containers?
Selecting a suitable pea variety is essential to cultivate peas indoors. A dwarf or bush variety is best.
- Choose a container that’s at least 8-12 inches deep to easily accommodate the pea roots.
- It should have adequate drainage holes to avoid waterlogging.
- Use a high-quality potting mix in the container.
- Place the container where it will receive about 6 hours of sunlight per day. A cool, part-shade location works best.
- Plant seeds at a depth of 1-2 inches below the soil surface.
- Water the soil thoroughly after planting.
- Install stakes or small trellises in the containers to support the pea vines.
- Keep the plants moist but not waterlogged.
- Fertilization isn’t usually necessary, unless the soil is nutrient deficient. Consider a balanced fertilizer lower in nitrogen and fertilize the plant early in its growing lifecycle.
- Harvest when peas are fully formed, and the pods are plump.
How to Transplant Pea Seedlings?
Transplanting pea seedlings can be rewarding as it allows you to enjoy an early harvest and healthy plants. Further, it allows better spacing and early planting and helps extend the growing season. However, the key is being gentle. Peas have delicate roots, and therefore, don’t like to be disturbed too much.
- Handle pea seedlings with care during transplanting to avoid damage to delicate roots and stems.
- Dig holes in the prepared soil spaced about 2-3 inches apart in rows.
- Gently remove pea seedlings from the container. Be careful not to disturb roots too much.
- Place each seedling in a hole. Cover the roots with soil.
- Press it gently to secure them in place.
- Water transplants thoroughly to let them settle into their new environment and reduce transplant shock.
When to Plant Peas?
- Sow pea seeds 4-6 weeks before the last spring when the soil is cool.
- Once they reach 4 inches height, start hardening them off to transplant outdoors.
How to Plant Pea Seeds?
- To speed up germination, soak pea seeds in water overnight.
- Sow seeds about 1 inch deep in the soil and 2 inches apart.
- Plant in rows at least 7 inches apart.
- Water seeds to keep the soil moist.
Peas Growing Stages
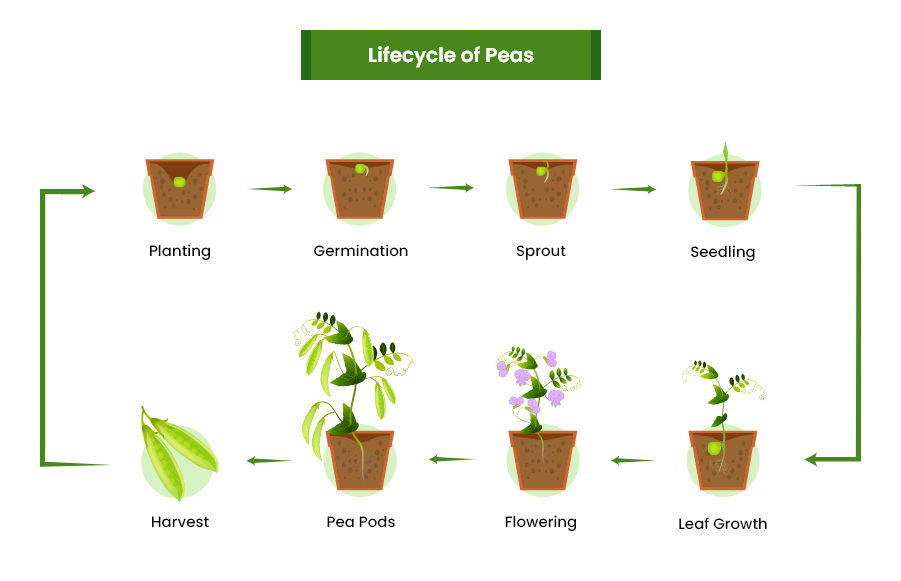
1. Germination
Pea seeds absorb water and begin to sprout in this stage. A small root emerges, followed by a shoot that grows upward. Germination is when seeds germinate and start growing into a plant. The germination process takes place in 4-7 days under optimal conditions, including adequate soil, moisture, and oxygen.
2. Seedling
Young pea plants continue their growth and develop their first true leaves. This stage lasts until the seedlings are well-established and produce more leaves. The seedling stage begins once the seed has germinated, and the embryonic plant has emerged from the seed coat. The pea plant undergoes speedy growth and development as it establishes itself and prepares for future growth.
3. Vegetative growth
The plant focuses on developing vegetative structure like stems, leaves, and roots. It follows the seedling stage and precedes the reproductive stage, during which the plant produces flowers and seeds.
4. Flowering
Pea plants start producing flowers on maturity. Flowers are white, pink, or purple and self-pollinating. Plants produce flowers that develop into pods containing seeds. At this stage, you should care for your plants by watering them, giving them nutrients, and controlling pests to enjoy a successful harvest.
5. Pod development
After pollination, the flowers are fertilized, and pea pods develop. The pods grow larger and get filled with mature peas. The pod development process begins after the flower is successfully fertilized. It helps determine the quality and yield of the crop.
6. Maturity
Pea plants attain maturity when the pods are fully developed, and the peas inside the pod mature. The pods might turn rigid and change their color.
7. Harvest
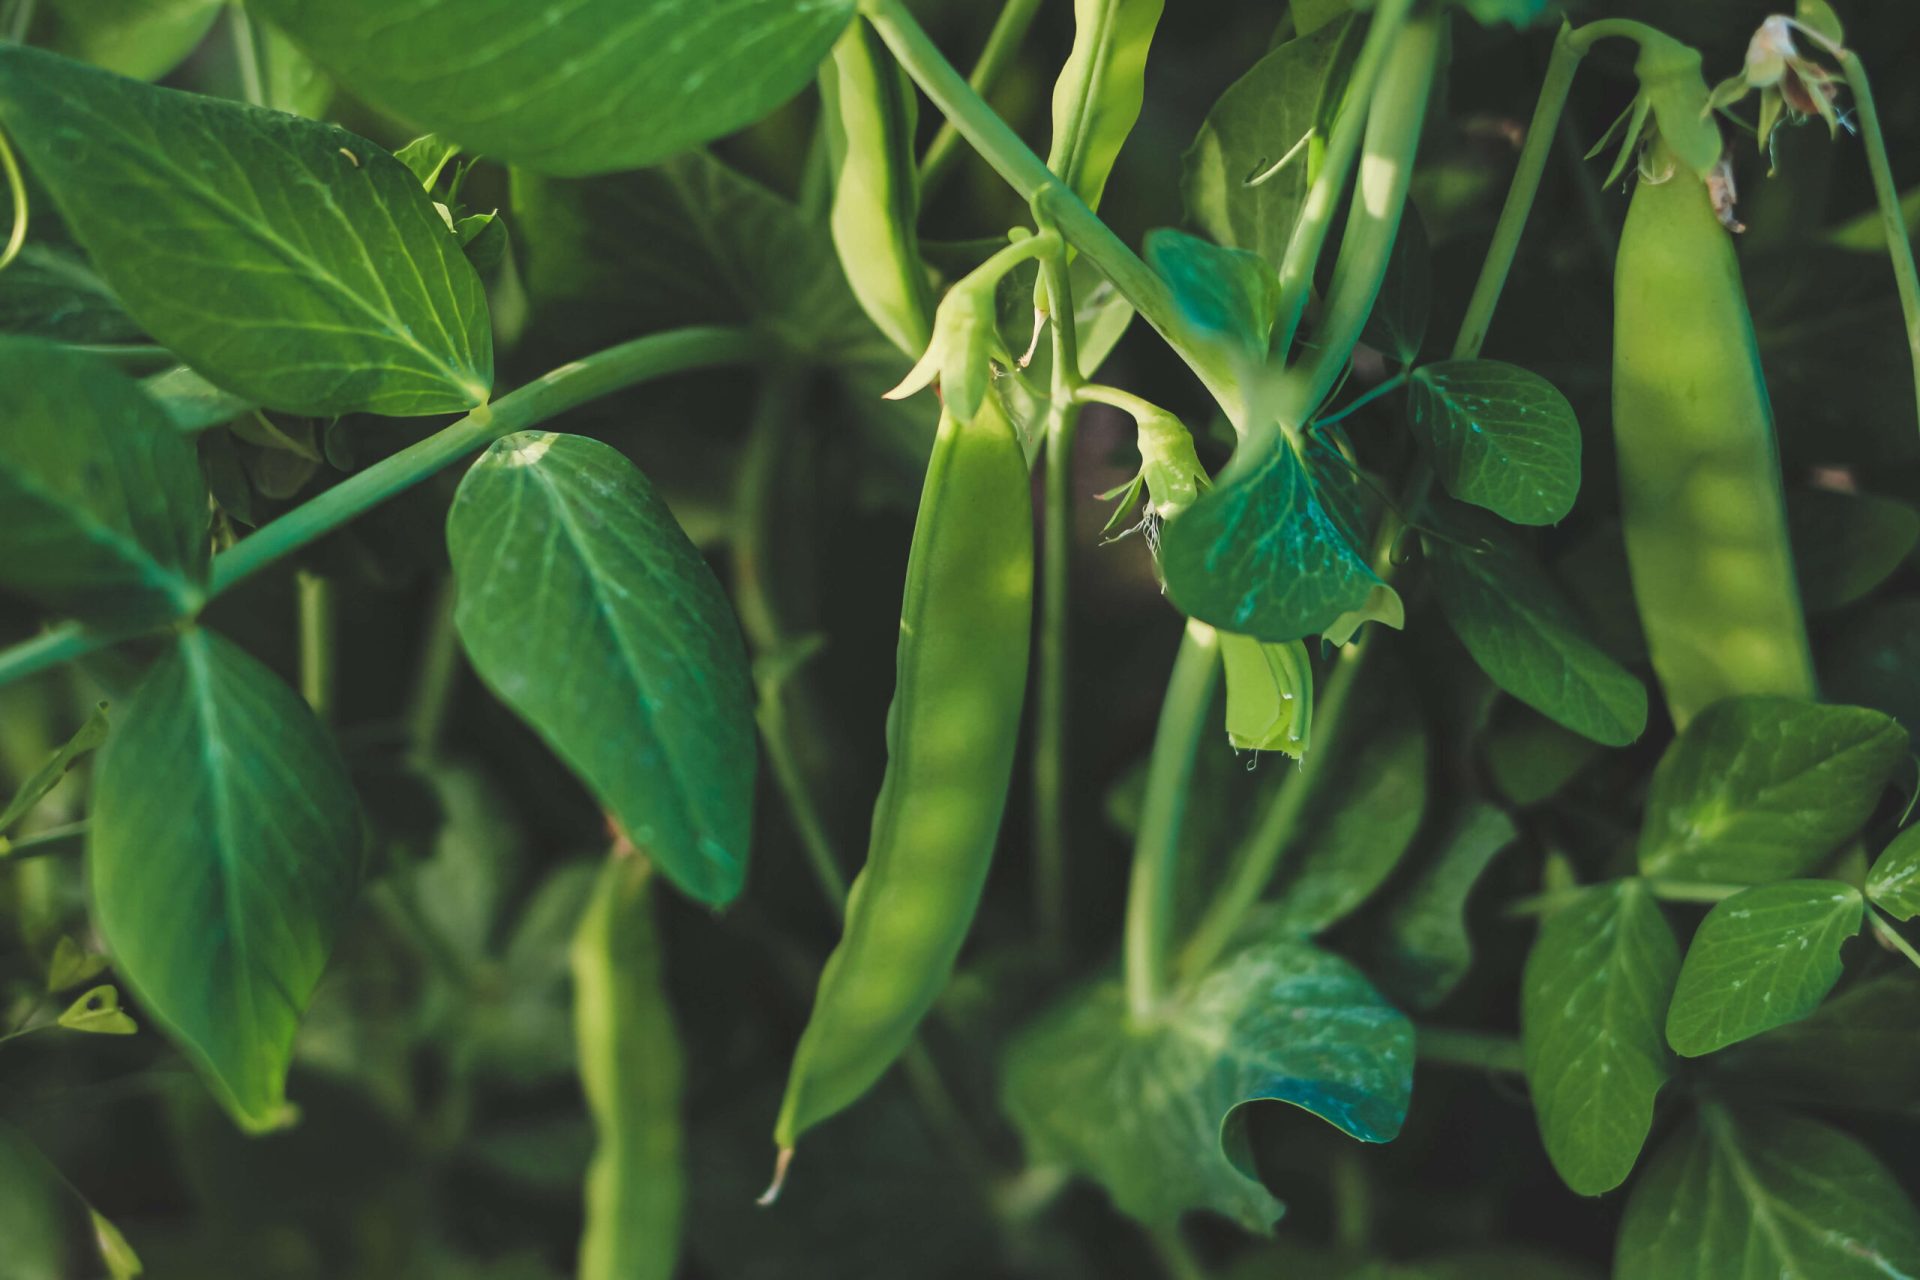
Harvest peas when their pods are plump, and the peas inside fully develop. Peas can also be harvested based on the variety while their pods are still tender. Harvesting peas at the right time ensures their best flavor and texture.
How to Harvest Peas?
Several pea varieties are ready to harvest in 60-70 days after planting. Harvest peas when their pods are full and ripe. They should be harvested before they overgrow and begin to dry. Peas are at the peak of their flavor after harvesting.
Steps to harvest green peas:
- Harvest peas in the early morning after the dew has dried. Peas become crispy, then.
- Harvest peas regularly to encourage more pods to develop.
- When picking peas, use two hands to avoid damaging the plant.
- Hold the vine with one hand and use the other hand to pull the pods off.
How to Store Green Peas?
- If you’ve planted shelling peas, remove the peas from the pod. Collect them in a bowl and rinse them thoroughly.
- Put water in a saucepan, bring it to boil and add sugar to it. Let it dissolve completely. The sugar helps peas retain their color.
- Add peas to the boiling water. Blanche for two minutes, keeping the heat to medium-high, then remove them from the heat.
- Sieve the peas right away. Then, quickly immerse them in ice-cold/regular water with cubes to stop the cooking process.
- Sieve them through once more.
- Store them in a zip-lock bag or an airtight container and keep them in a deep freezer.
Best Peas Varieties
There are three types of pea plants: Garden, Snow, and Snap Peas.
1. Garden Peas
Also known as shelling peas, green peas, or English peas, these peas are sown in early spring. This peas variety remains housed in its pod and is large compared to other pea varieties. They are harvested when the pods are thick and swollen. They are shelled as their shell is not edible.
2. Snow Peas
This pea variety is also known as sugar peas. Its pods are much flatter than those of garden peas. The pods are edible. They are used in salads or Asian dishes like stir fry. These peas are juicy and moderately sweet.
3. Snap Peas
This pea variety is commonly known as sugar snap peas. They are like snow peas but produce plumper peas with an edible pod. This makes them the best blend of both the pea pod worlds. Peas of this variety are sweet and crunchy, making them ideal for various culinary preparations.
Here are 3 peas varieties that you can grow in your garden:
1. Mr. Big
Mr. Big is a prize-winning variety, owing to its high-yielding capabilities. This hardy variety has excellent resistance to fusarium.
It is moderately sweet and has dark green pods. These pods contain around 9-10 extra-large peas. The plant reaches four feet tall and can be harvested in 60 days.
2. Oregon Sugar Pod
The Oregon sugar pod has different varieties. Its plant reaches about 2½ feet tall, and the average pods measure 4- 4 ½ inches long. This snow peas variety is sweet-resistant and produces very tender and sweet peas. It gets ready for harvest in 70 days.
3. Sugar Daddy
This snap pea variety is sweet and super tender, which makes it a popular option among gardeners. The vines of this variety reach two feet tall and are disease resistant. It is ready to harvest in about 75 days, which is the longest harvesting time.
Common Pests and Diseases Problems with Peas
Some diseases that affect peas growth are root rot, bacterial blight, downy and powdery mildew, fusarium wilt, and Ascochyta blight. Pests that affect the growth of peas plants are aphids, pea weevils, armyworms, cucumber beetles, leaf miners, nematodes, spider mites, thrips, and cutworms.
To grow healthy peas, use disease-free seeds, rotate crops, control water, and space plants properly. This will reward you with a good harvest.
Companion Plants for Peas
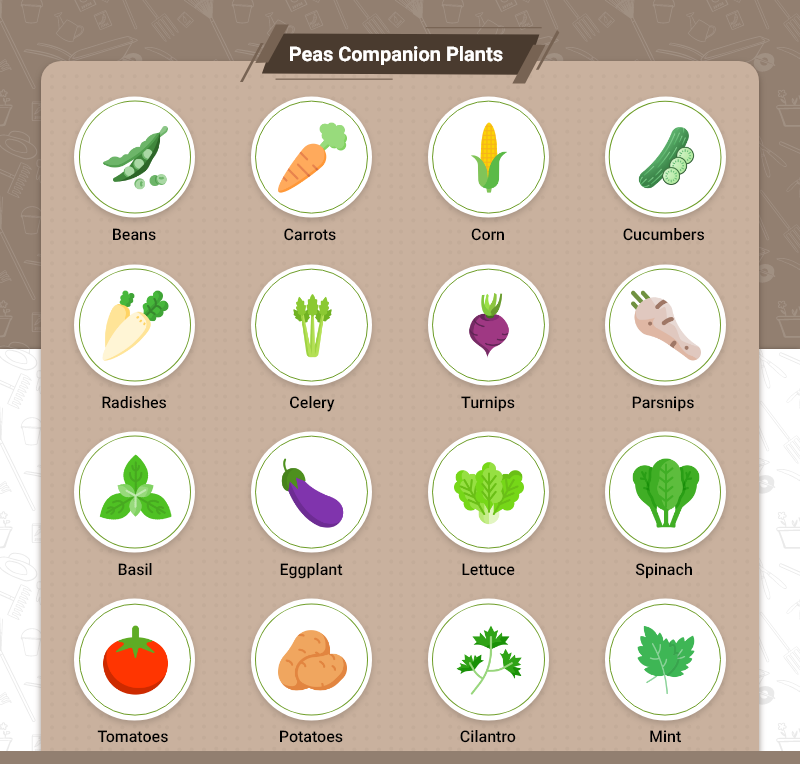
The best companion plants for peas share their growth, care requirements, and help the main crop grow better, using garden space efficiently.
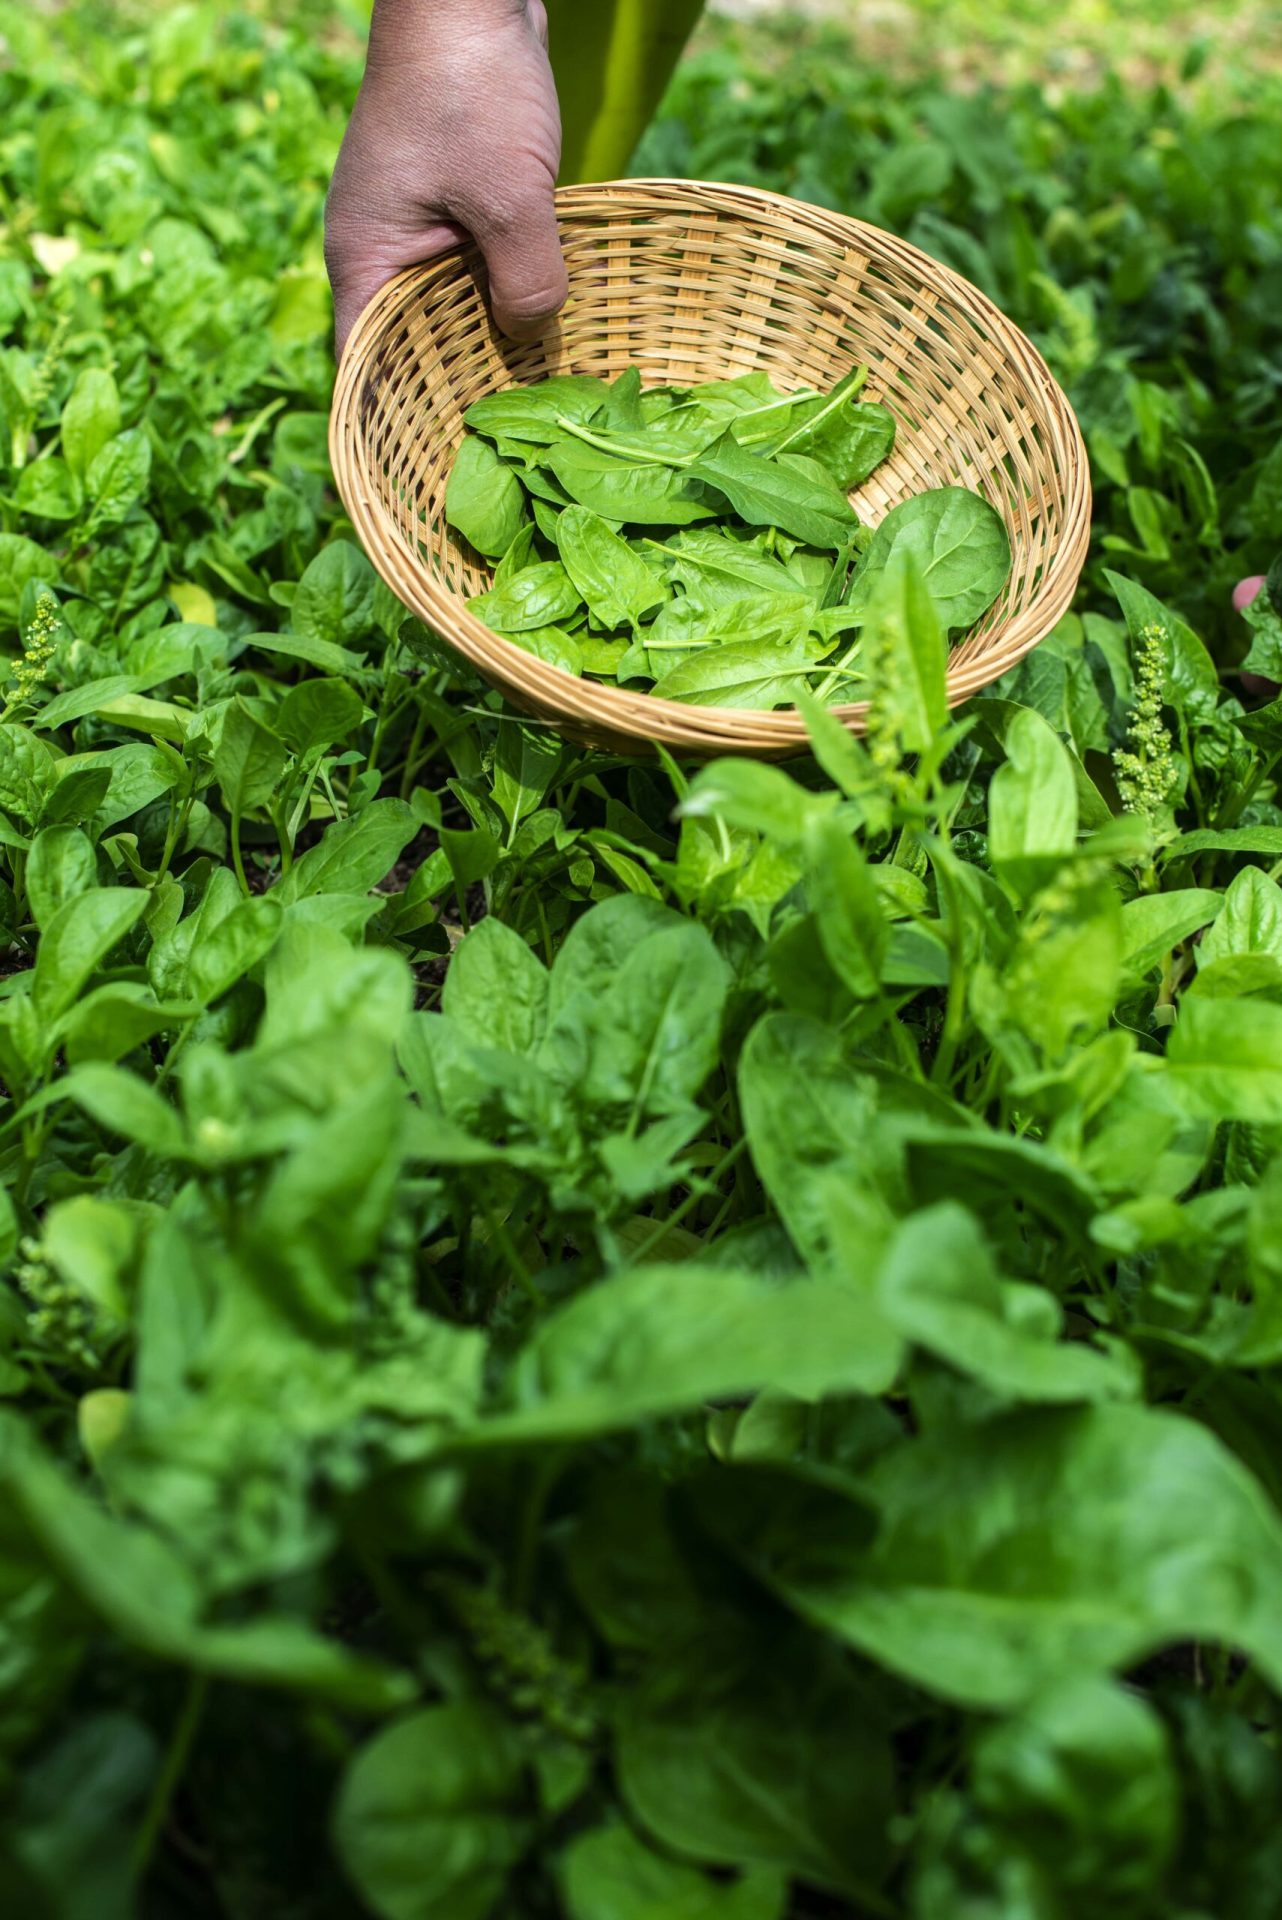
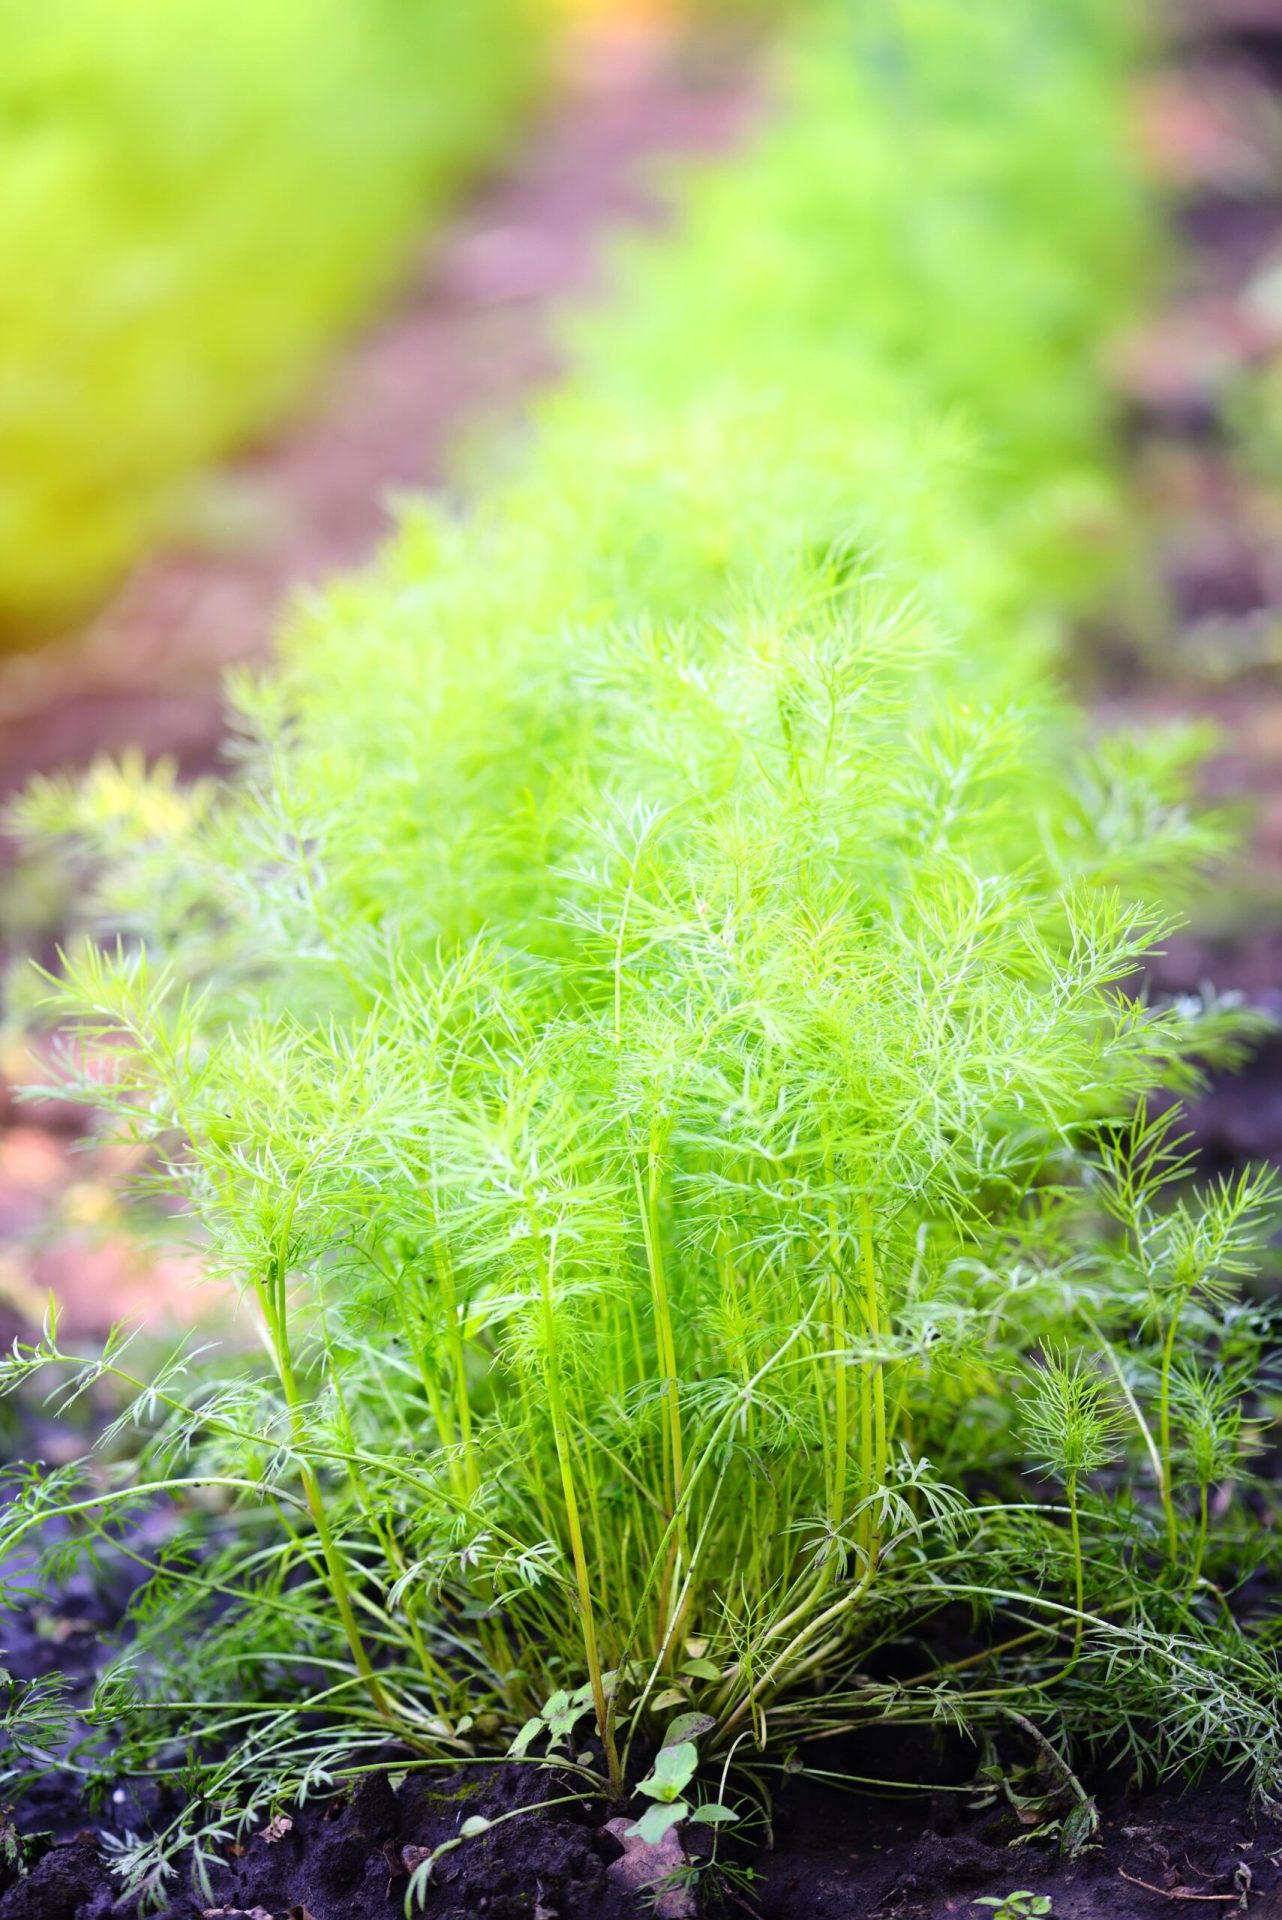
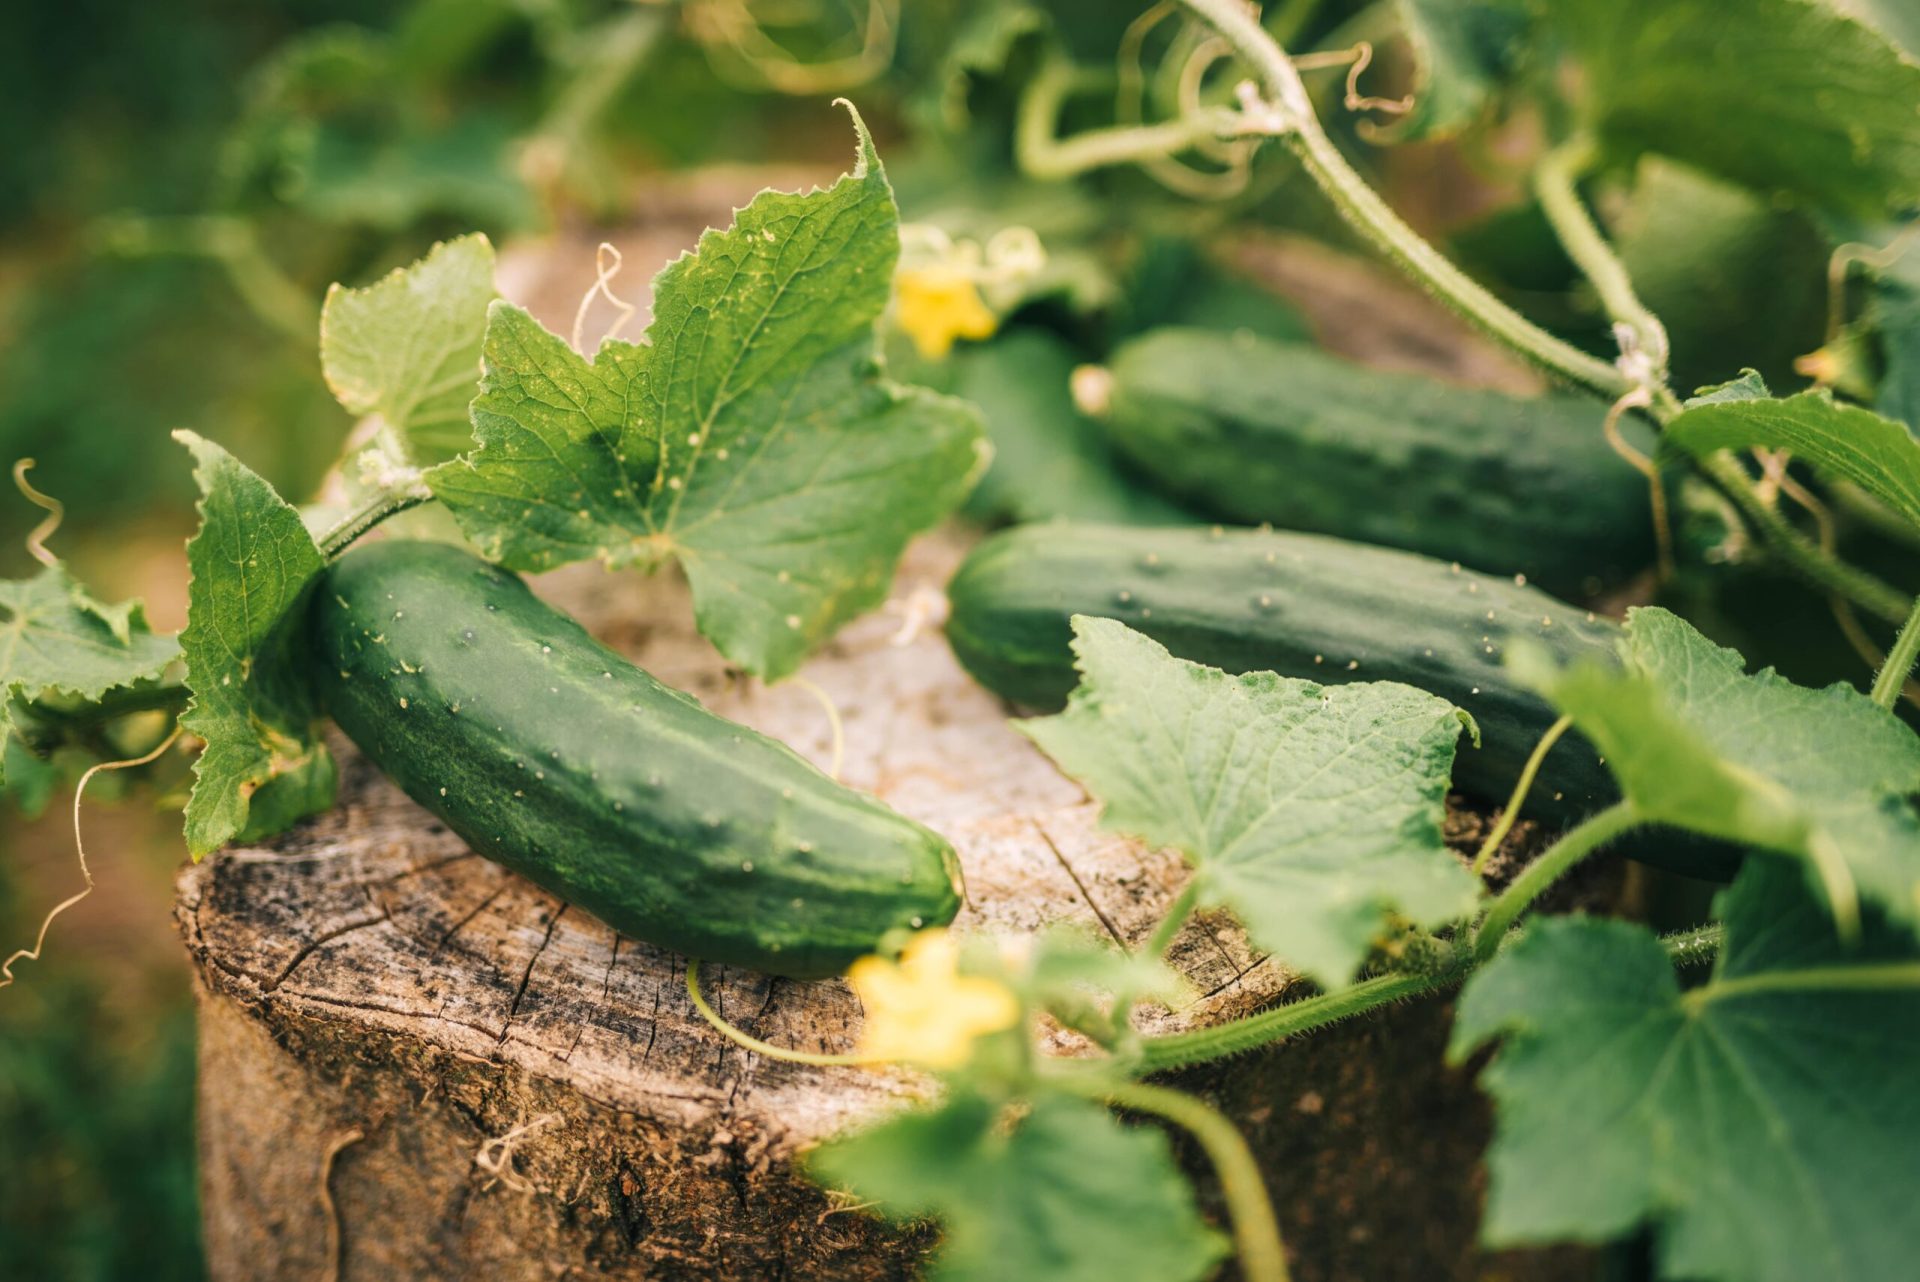
Basil, beans, beets, carrots, celery, corn, cucumbers, eggplant, lettuce, spinach, peppers, and tomatoes can be grown alongside peas. Flowers and herbs like mint, sage, thyme, marigold, parsley, nasturtiums, and borage are the best companions for peas.
Companion planting helps reduce pest damage. It improves soil fertility, reduces weed competition, and boosts plant growth.

