In terms of garden vegetables to grow, kale is one of the best. Not only is it easy to cultivate, but it’s also a superfood, a nutrient-rich leafy green that’s a favorite homegrown veggie.
How can you get started growing kale? Our kale growing guide provides everything you need to know. You’ll learn how to grow kale, including its growth stages, essential components, harvest tips, storage and more.
Growing Kale 101: Step-by-Step Guide
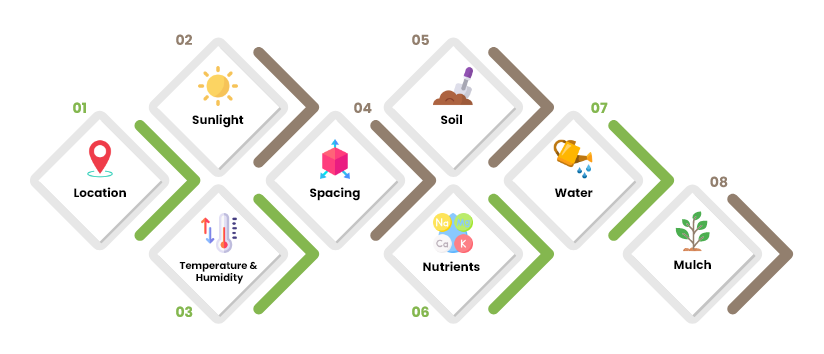
1. Location
Kale grows well in in-ground gardens, pots, raised beds, and containers. You can also grow kale indoors as long as you have adequate lighting. The planting location should get ample sunlight. Ensure the plant is not too close, or taller plants will overshadow it.
You can also successfully grow kale in a window box when you grow it in south- or west-facing windows. In hot climates, east-facing windows can help prevent the plants from scorching in the afternoon heat.
2. Light
Kale plants require full sun to partial shade in most climates. It grows fully when it receives six or more hours of direct sunlight per day.
If you live in a hot and dry climate, provide plants with some shade, especially in the afternoon when the sun is strong. Heat will damage kale plant, causing them to wilt and lose their flavor quickly.
3. Temperature & Humidity
Kale is a cool-weather vegetable, so it can handle some frost once it matures. The temperature of the soil should be 60-65°F.
Kale varieties prefer cool weather, and a touch of frost sweetens them, while hot weather makes them bitter. That’s why this is a favorite for the spring or fall. You can grow kale throughout winter if the weather is mild and there is adequate water.
4. Spacing
Space kale plants 1-2 feet apart from other plants. You should plant seeds around ½ inch deep in the soil. The plant doesn’t require any support structure.
5. Soil
Kale plants prefer well-draining soil, which is high in organic matter and has a slightly acidic pH (6.5 to 6.8). A high nitrogen content provided by organic matter is essential for the healthy growth of leaves.
6. Fertilizer
When planting kale, you should mix high-quality fertilizer in to the top 3 to 4 inches of soil. Feed the plant throughout the season by following the instructions mentioned on its fertilizer label. Make use of compost or a high-nitrogen vegetable fertilizer.
7. Watering
Kale plants need water consistently to stay strong and healthy. It grows best water 1 to 1½ inches of water every week. Watering your kale plants regularly is essential to keep the soil moist. Besides cool temperature, moisture keeps the leaves crisp and sweet rather than making them tough and bitter.
8. Mulch
Mulch around the plants to keep the soil and roots cool & moist. Ensure that plants are watered well.
Kale is beneficial in several ways as it is loaded with essential nutrients which help prevent different health issues. The following image will guide you about its benefits.
How to Grow Kale Indoors from Seed?
Sow kale seeds indoors in mid-spring for an early start. Fill a modular tray with multi-purpose compost, water the tray well, and make a ½-inch deep hole in each module. Sow at least two seeds for each hole, then cover it with good compost. If both the seeds germinate, remove the weaker seedling.
How to Grow Kale in Pots?
Transplant kale in the pot deeper than it was in the nursery container. Make sure the lowest leaves are above the soil.
Backfill it with compost or a potting mix by gently firming it in as you go and water it thoroughly. Give the plants enough room to thrive. Usually, one plant is enough per pot.
How to Grow Kale in Containers?
- Kale is a plant that can grow in containers all year except in the hottest days of summer.
- To grow kale, select a sunny spot with at least 6 hours of sunlight. These plants need rich and well-draining soil with a pH of 6.0-7.0.
- Choose a container with a diameter of at least one foot across.
- For large containers, space the plant 12 inches apart.
- Use good quality potting soil.
- Directly seed after the frost has passed in the spring, or you can plant seedlings in containers.
When to Plant Kale?
You can plant kale three to five weeks before your area’s projected last frost date in the spring. In several regions, gardeners can harvest this vegetable in the summer by planting it in its growing season. You can plant it in the late summer, six to eight weeks before the first fall frost.
Those living in warm climates can continue to plant it in the late fall or early spring to winter harvest. Kale takes about three months to reach maturity from seeds, while cuttings mature in one month.
How to Plant Kale?
- Add high-quality fertilizer to the top 3-4 inches of soil. If you fertilize using compost, apply only 1 inch of well-composted organic matter per 100 square feet.
- Plant seeds about ¼ or ½ inch deep, 1 inch apart, and in rows 18 to 30 inches apart.
- When transplanting, make sure to plant them at the same depth as they were in the nursery container. Leave 12 inches of space between each plant and space the rows 18 to 30 inches apart.
- After planting seeds, water them adequately.
Kale Growing Stages
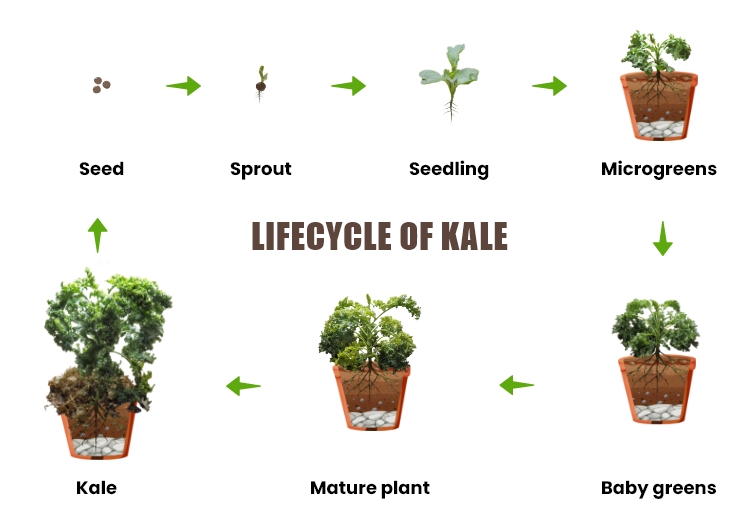
1. Planting
First, directly sow kale seeds in the ground. This means you can plant seeds in the soil where they will grow. You can choose to start seeds indoors or in a greenhouse, as well.
One option: Start growing kale indoors before the last frost in spring. Then, after the soil warms, move the plants outdoors.
This helps reduce damage to your plants due to frost. Select a sunny and well-draining location whether you plant seeds directly in the ground or in containers. Make sure the soil is moist and fertilized. If planting seeds outdoors, you should do it in the fall or spring, as this superfood is an excellent cool-season crop.
2. Seedlings
Once you plant kale seeds, it is essential to keep the soil moist and warm. This helps in germination and causes the seeds to sprout in 5 to 8 days.
On sprouting, you will notice small plants with several tiny leaves. At this stage, you can provide the plant with supplemental light. Exposing seedlings to at least 6 hours of daily sunlight is essential to yield healthy plants.
Cotyledons are the leaves that sprout from seeds. They are round and tiny. After this stage, the plant’s leaves start forming and it starts growing larger leaves.
3. Transplanting and Growing
Once seedlings grow several inches tall, you can transplant them from indoor containers into the ground. Once planted in the growing location, water them thoroughly and mulch around the base of each plant. Mulching helps in keeping weeds away while providing warmth and nutrients to the plant.
Ensure you space plants appropriately. The kale plants grow bigger once they mature, so make sure you maintain proper space between each plant correctly. To plant in rows, provide space of 12 inches from one row to another. You should space each seedling at least 12 to 18 inches apart.
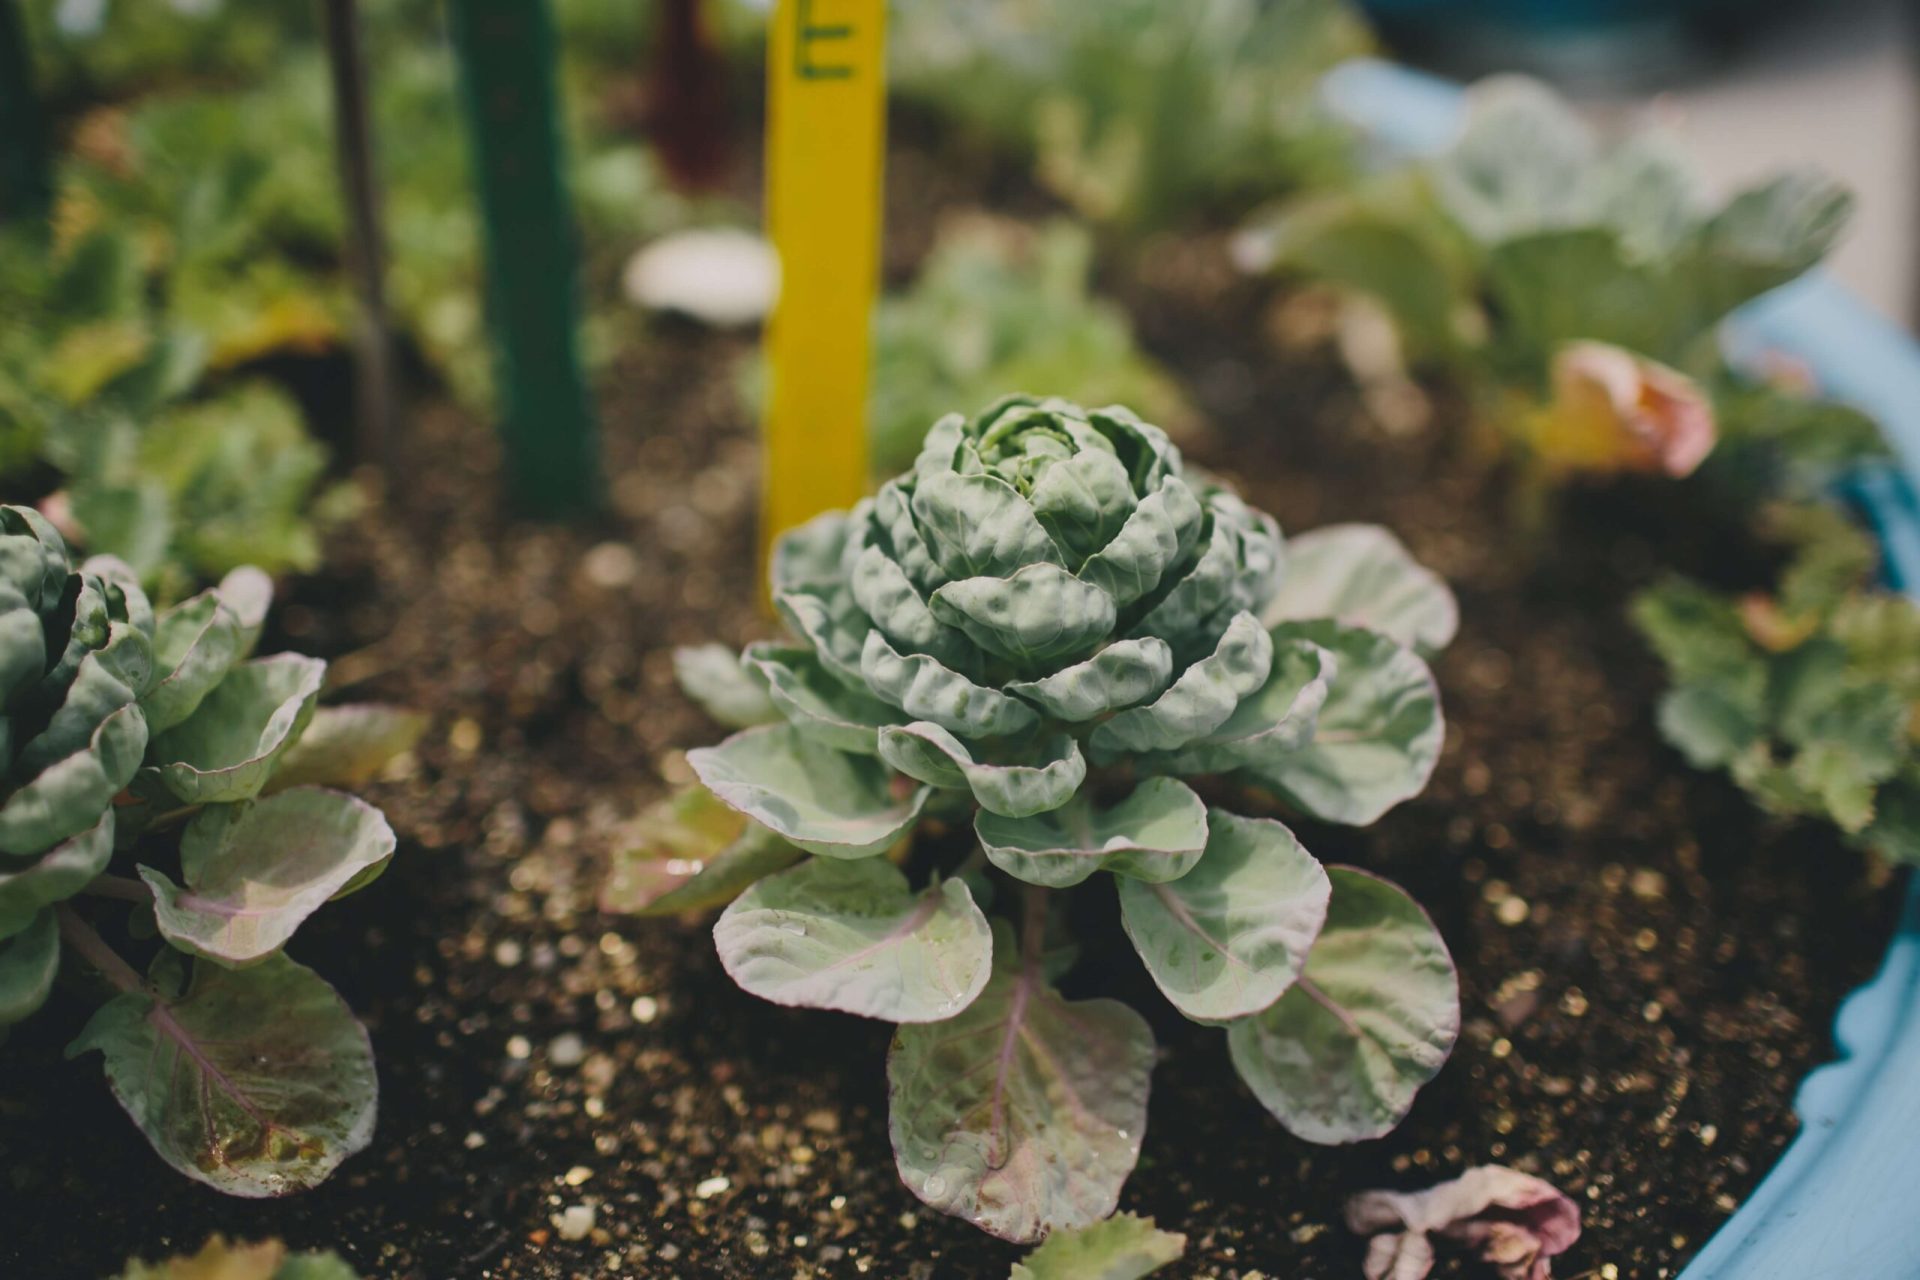
4. Mature Plants
After the plants have grown taller and made a canopy full of leaves, the kale plant is ready to harvest. The plant will continue growing throughout the summer and possibly in the fall, if you live in a mild climate. Most kale varieties will grow about 18 inches tall.
5. Harvesting
If you harvest kale correctly, it will continue to regrow new leaves and provide fresh leafy greens for months. Pull gently or cut the leaves from the sides of the plant. Take the leaves that are nearest to the ground to encourage new growth. Discard discolored leaves and let the leaves remain at the top of the plant.
When to Harvest Kale?
The ideal time to harvest Kale is before it starts producing flowers, which makes the leaves taste bitter. Start picking kale after the plant reaches its mature height. The variety you have grown determines the height of the plant. Certain kale varieties grow in just seven weeks after planting but can stay in the soil for a long time.
How to Harvest Kale?
Kale is easy to grow and harvest. Knowing the right time and method to grow and harvest these leafy greens is essential. The timing and method to harvest kale depends on whether you are growing it for baby greens or mature leaves.
You can harvest kale in 60 days after planting. At this stage, healthy plants will have upward leaves, with small ones in the center and large ones on outside. To grow baby kale, plants are ready to harvest in 25-30 days after sowing.
The harvesting period of Kale occurs once in early summer or late spring, and again in autumn. If you prefer small leaves, collect them early; if you prefer large kale leaves, wait until it sizes up.
After harvesting, you can come back for more when the leaves have grown to the size of an adult hand. You can collect new greens every one to two weeks based on your growing zone and the time of the year.
You should harvest almost all the kale varieties in the following way:
- To pick ripe plants, hold the stem of a mature outer leaf at the bottom. Pull downwards and outwards until it snaps away from the middle.
- Leave at least five central leaves on the plant to continue the process of photosynthesis and produce new growth.
- Don’t pick the innermost portion with the smallest leaves, as this is where the new growth originates.
- Cut along the base to harvest, but don’t cut the plant’s root.
- Use scissors or a knife if the soil is soft or plants are newly established. This will prevent you from pulling the whole plant out of the ground and help snap only the main stalk.
- If you notice discolored or insect-eaten leaves, remove them and discard them or, at the most, add them to the compost pile. It allows the plant to put its energy into new and healthy growth.
- You should also check for aphids, slugs, and other plant-damaging pests.
How to Store Kale?
Storing your leafy greens properly is essential to extend their shelf life. It helps them retain their color, texture, flavor, and nutrients to enjoy the tastiest produce possible.
Even though kale is a hearty green, sometimes it can be a little finicky regarding storage. You can store this green veggie in three ways: Fresh, frozen, or dried.
1. Refrigerate
Refrigerating this green veggie is a great way to prepare it for all recipes. Before you place it in the refrigerator, make sure all its leaves are dry. Drying the leaves ensures that they don’t begin to wilt or turn mushy.
You should not wash fresh kale until you plan to use it. When it is dry, wrap it in a paper towel before you place it inside a plastic storage bag. Keep this vegetable in your refrigerator’s crisper, away from ethylene-producing fruits, for its long shelf life.
2. Freeze
You can freeze kale in a few simple steps. First, you need to blanch it before freezing. You can do this by adequately cleaning and quickly boiling your harvested leaves.
When you remove the leaves from boiling water, place them in ice water before drying them thoroughly. When the leaves are dry, place them in a single layer on a baking sheet and let them freeze solid. After they are frozen, place them in an airtight storage container. Frozen kale lasts for six to eight months in the freezer.
3. Dried
You can dry kale using a dehydrator or your oven, which is an excellent option. If you use an oven to dry kale, set the temperature to the lowest possible setting and place clean leaves on a baking sheet. Bake the kale until it becomes dry and crispy, checking it periodically to ensure that kale leaves don’t burn.
Best Kale Varieties
You can grow different kale varieties in your garden or backyard. However, the best three varieties you can grow include:
1. Curly Kale
This kale variety has frilled-edgy leaves and long stems. The best thing about this variety is that it is resistant to pests compared to other types. It has a peppery flavor and is easy to cook. Its deep green textured leaves add a visually appealing element to dishes and prove nutritious when added to meals.
When used in salads, its sturdy leaves hold well in dressings, thereby creating a satisfying crunch. Its resilience and hardiness can withstand cooler temperatures, making it a suitable crop for spring and fall harvests.
2. Red Russian Kale
This kale variety has purple stems and flat, broad leaves with frilly, serrated edges. Its green leaves possess mild, sweet, and earthy flavor, which makes it an ideal choice to toss into salads.
Its vibrant color adds an appealing aesthetic to salads, while its tender leaves make it suitable for raw consumption. Beyond culinary attributes, this variety has high nutritional content. Its hardiness and adaptability to different growing conditions make it perfect to grow in home garden or backyard option.
3. Lacinato Kale
Also, well-known as ‘Dinosaur’ kale, this variety has long dark green and bumpy leaves. It has a flatter and smoother leaf with a wrinkled texture that resembles the skin of a dinosaur.
This variety is a favorite among those who love to savor a mild taste in their leafy greens. The leaves of the plant are tender and work perfectly in salads, where you can thinly slice them and mix them with other greens. It is nutritionally dense and offers a rich source of vitamins and essential minerals.
Common Pests & Diseases
Like every other vegetable, kale is susceptible to different pests and diseases. You must be aware of preventative methods to keep your plants safe throughout their growing period.
Common pests that might affect kale include beet armyworm, cabbage aphids, and cabbage loopers. Some common diseases affecting this superfood’s growth are anthracnose, Alternaria leaf spot, downy mildew, damping off, and others.
Kale Companion Planting
Growing companion plants for kale improves crop yield, creates more space, repels pests naturally, and protects kale from diseases. Further, companion plants play a crucial role in improving kale plants’ nutrient absorption and keeps weeds in check.
You can grow kale next to the following companion plants, which are:
- Cilantro
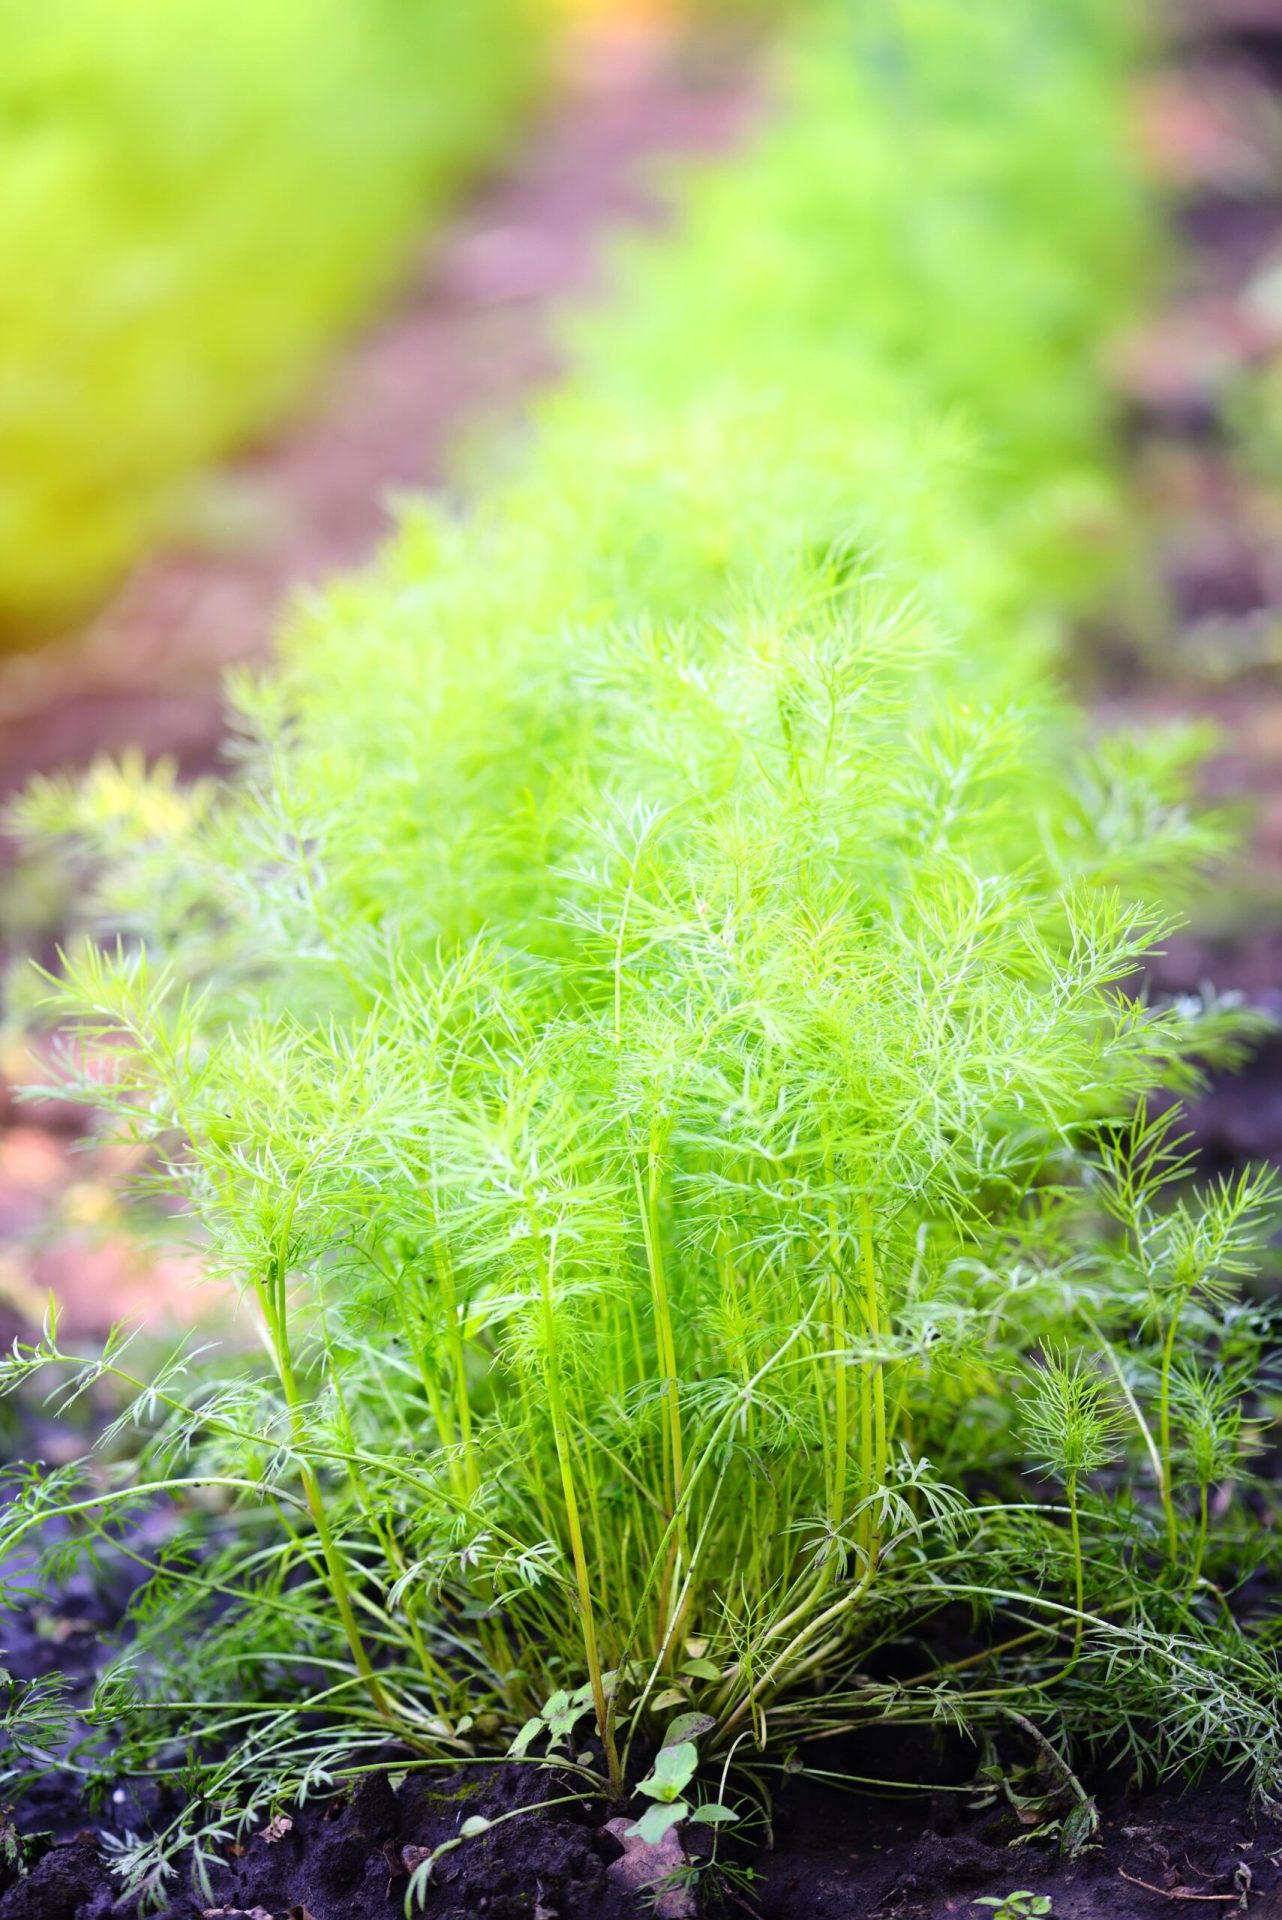
- Dill
- Oregano
- Chives
- Lemongrass
- Beans
- Hot Peppers
- Potato
- Alliums
- Bunching onions
- Garlic
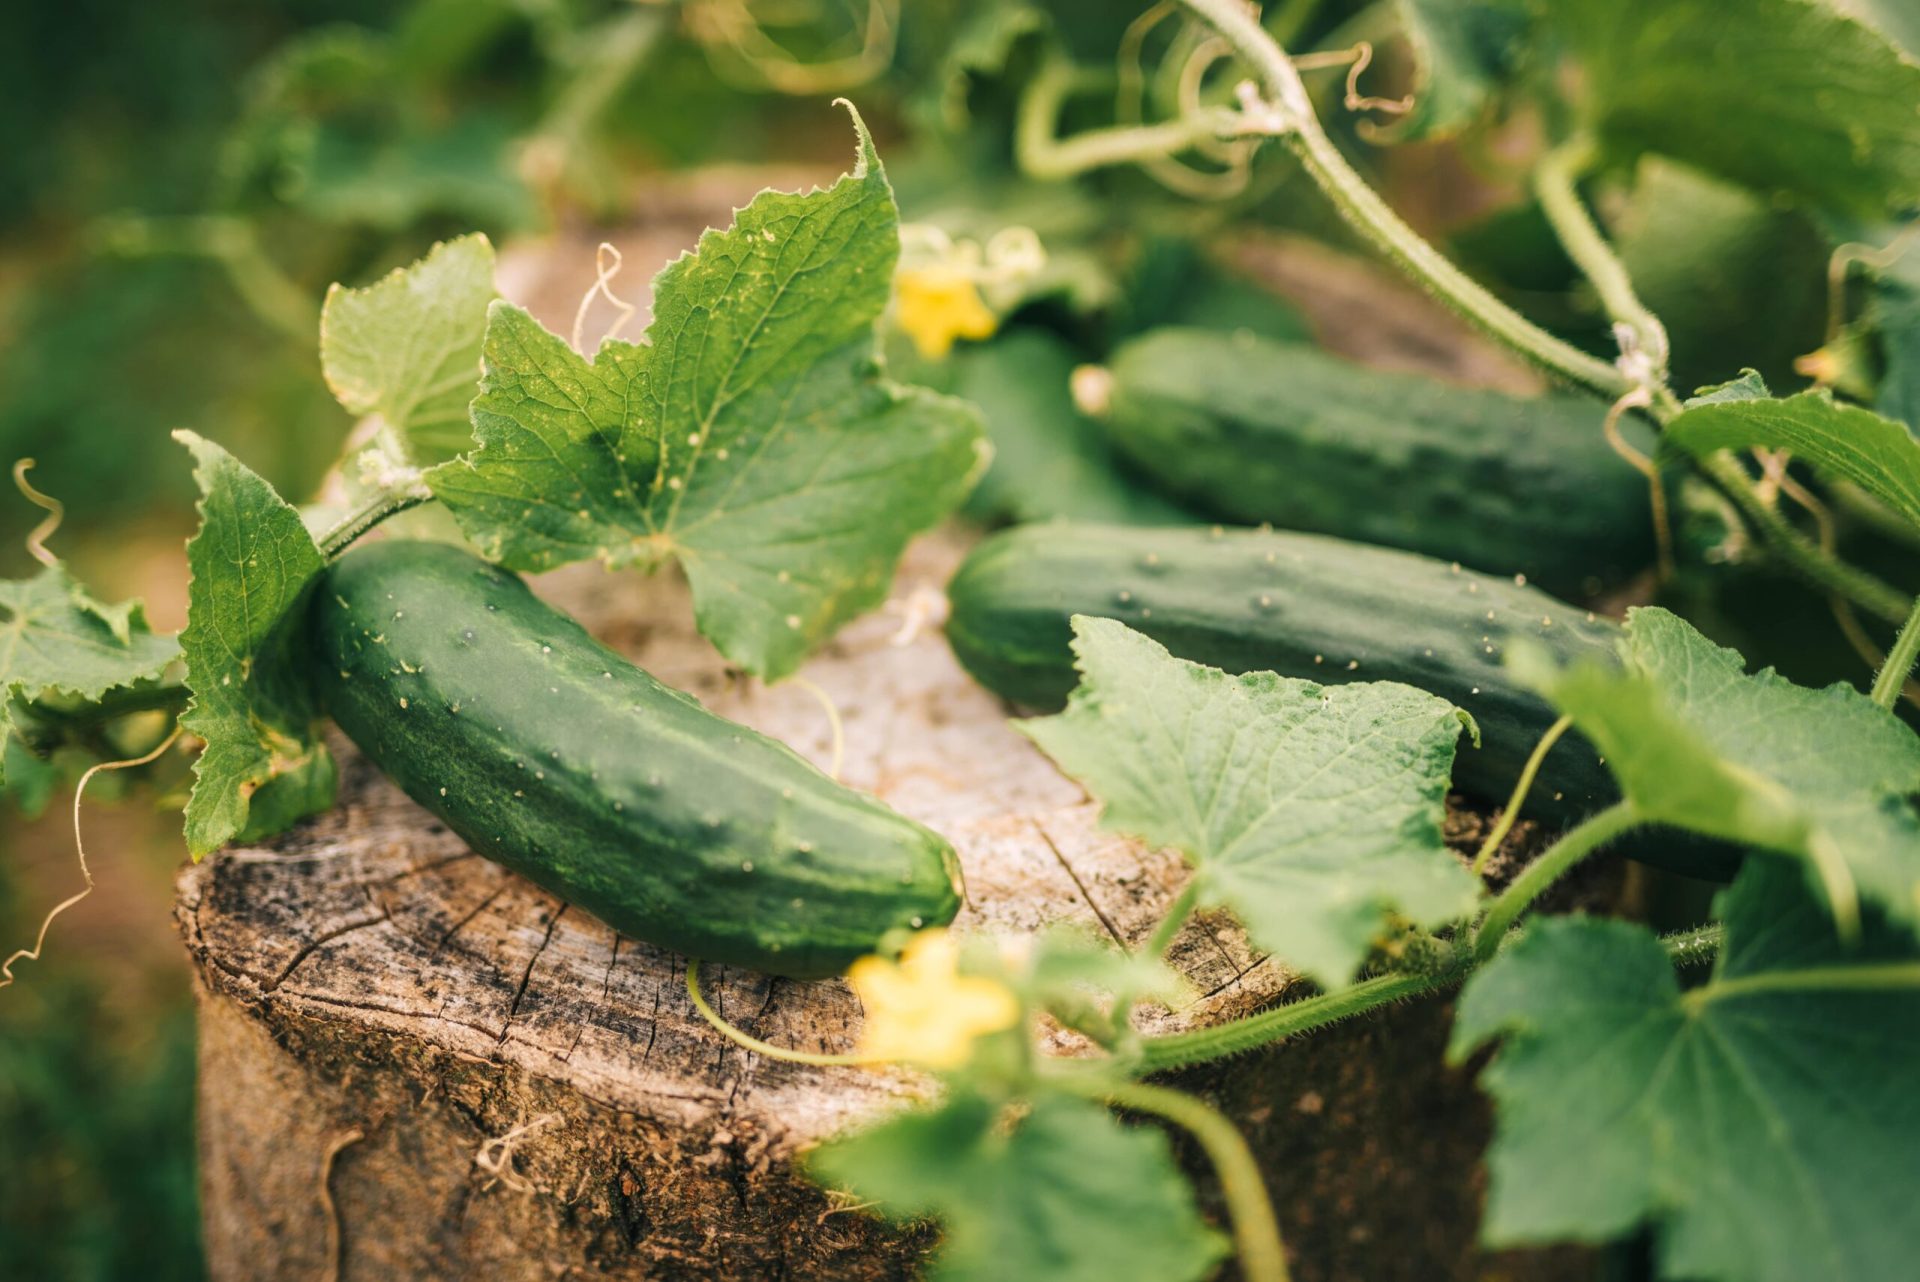
- Cucumber
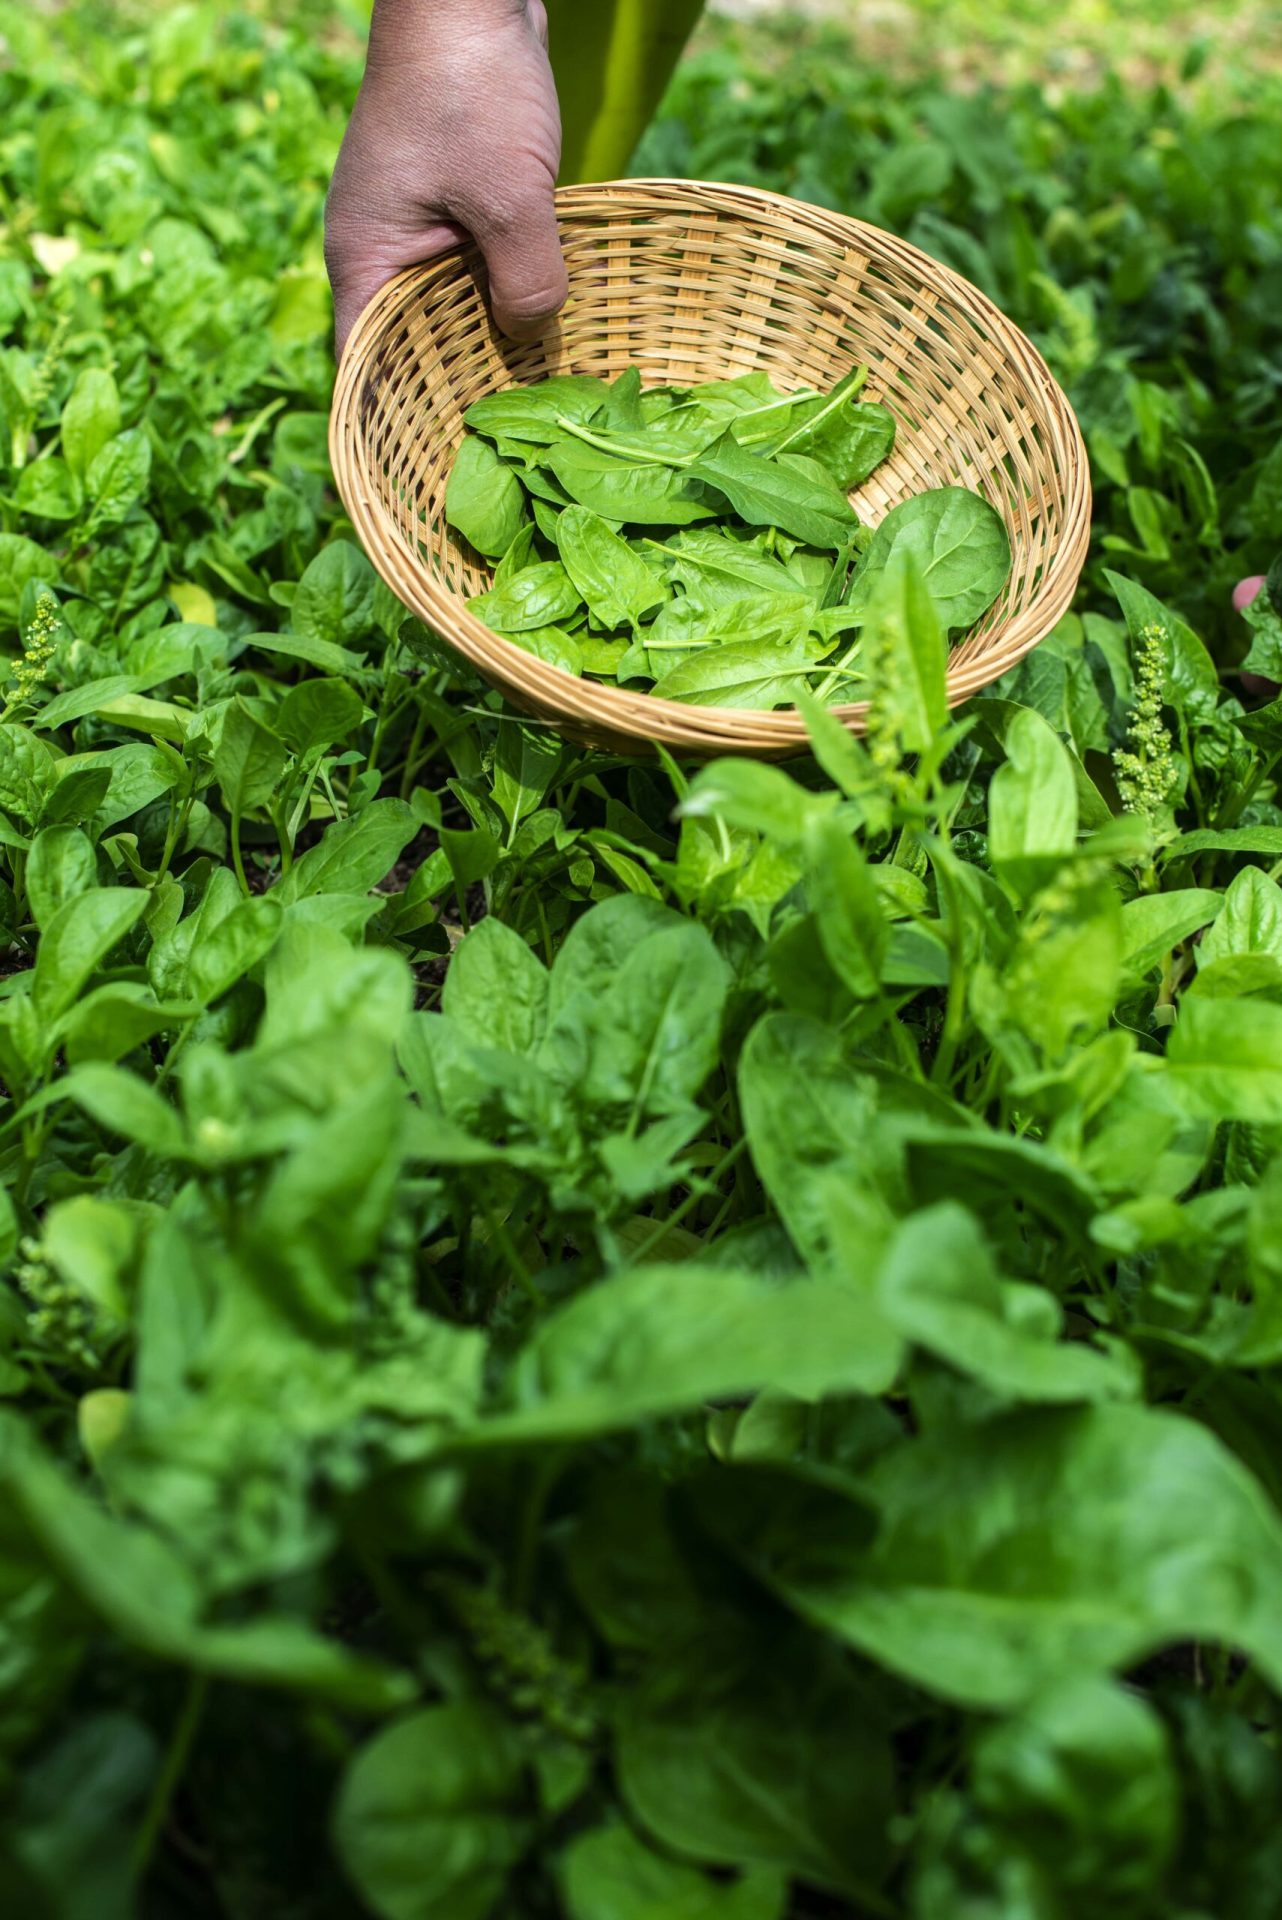
- Lettuce
- Peas
- Radish
- Leeks
- Marigold
- Nasturtium
- Sweet Alyssum
NOTE: Ensure you plant companions at the right time and allow proper spacing between both plants to let them thrive successfully.