Dill is a tasty herb used in pickles, sauces, salads, fish seasoning, and vegetable dishes to enhance flavor and add sweetness. Many gardeners like it because it is easy to grow. It spreads on its own and grows back every year.
Interested in growing dill in your garden? This growing guide has everything you need to know about how to grow dill herb. It covers dill growing stages, essential growing components, dill varieties, storage, and harvesting process.
Growing Dill 101: Step-by-Step Guide
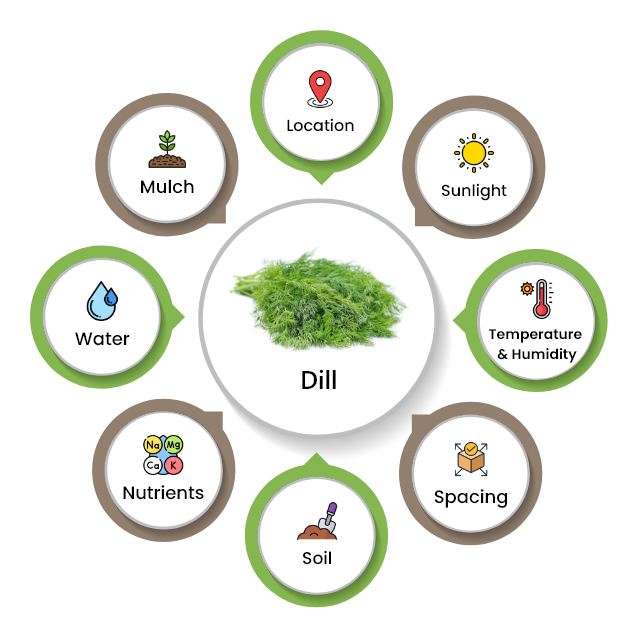
Location
Select a location with full sun that receives at least six to eight hours of direct sunlight.
Temperature & Humidity
The ideal temperature for growing dill is around 60°F and 75°F. It requires a humidity level of 40-50% to thrive well.
Spacing
Plant dill seeds about 1-2 inches apart and in rows about 6 inches apart.
Soil
Dill prefers alkaline soil with a pH range of 6.0-7.0.
Nutrients
Apply a balanced 10-10-10 fertilizer once or twice during the growing season. Use liquid fertilizer mixed with water or time-release fertilizer.
Water
Keep the soil moist but not soggy. Water deeply and evenly 1-2 times per week.
Mulch
Put an organic mulch layer around plants to keep soil moist and stop weeds from growing. Use straw or shredded leaves.
How to Grow Dill Plants from Seed?
- Sow seeds outdoors from late spring to mid-summer once the soil has warmed up.
- Loosen the soil slightly to 6-8 inches depth with a tiller or garden fork.
- Sow seeds thinly and evenly about ½-¼ inch deep into the prepared soil.
- Space rows about 18-24 inches apart for adequate airflow and growth.
- Cover the seeds lightly with soil.
How to Grow Dill in Containers?
- Select a container that is about 12 inches wide and deep.
- Sow the dill seeds into the potting mix in the pot.
- Sow seeds about ¼ inch beneath the soil, about 18 inches apart.
- Cover it lightly with more potting mix and keep it moist until germination.
- Germination will take place in 10-14 days.
- Spread an organic mulch layer to retain moisture during warm months.
- Ensure the container receives at least 6 hours of sunlight daily.
How to Transplant Dill Seedlings?
- The best season for dill seedlings is between late spring and early summer.
- Transplanting now ensures maximum growth of this garden herb instantly.
- Transplant dill seedlings when they are about 1.25″ tall.
- Use loamy soil mixed with organic compost as a base fertilizer.
- This rich, well-drained soil will keep your dill plant healthy and encourage better growth.
When to Plant Dill Seeds?
- Plant dill seeds directly in the garden after the last frost date.
- Ensure the temperature is at least 60°F.
- Choose a spot that has good drainage and fertile soil for planting seeds.
How to Plant Dill Seeds?
- Plant dill seeds about ¼ – ½ inch deep into the soil.
- Sprinkle soil over seeds and tap the soil to firm.
- Water in well.
- Keep the soil consistently moist during the 10–21-day germination period.
- Sow successive crops of seeds every 2-3 weeks for a continuous fresh harvest of dill leaves.
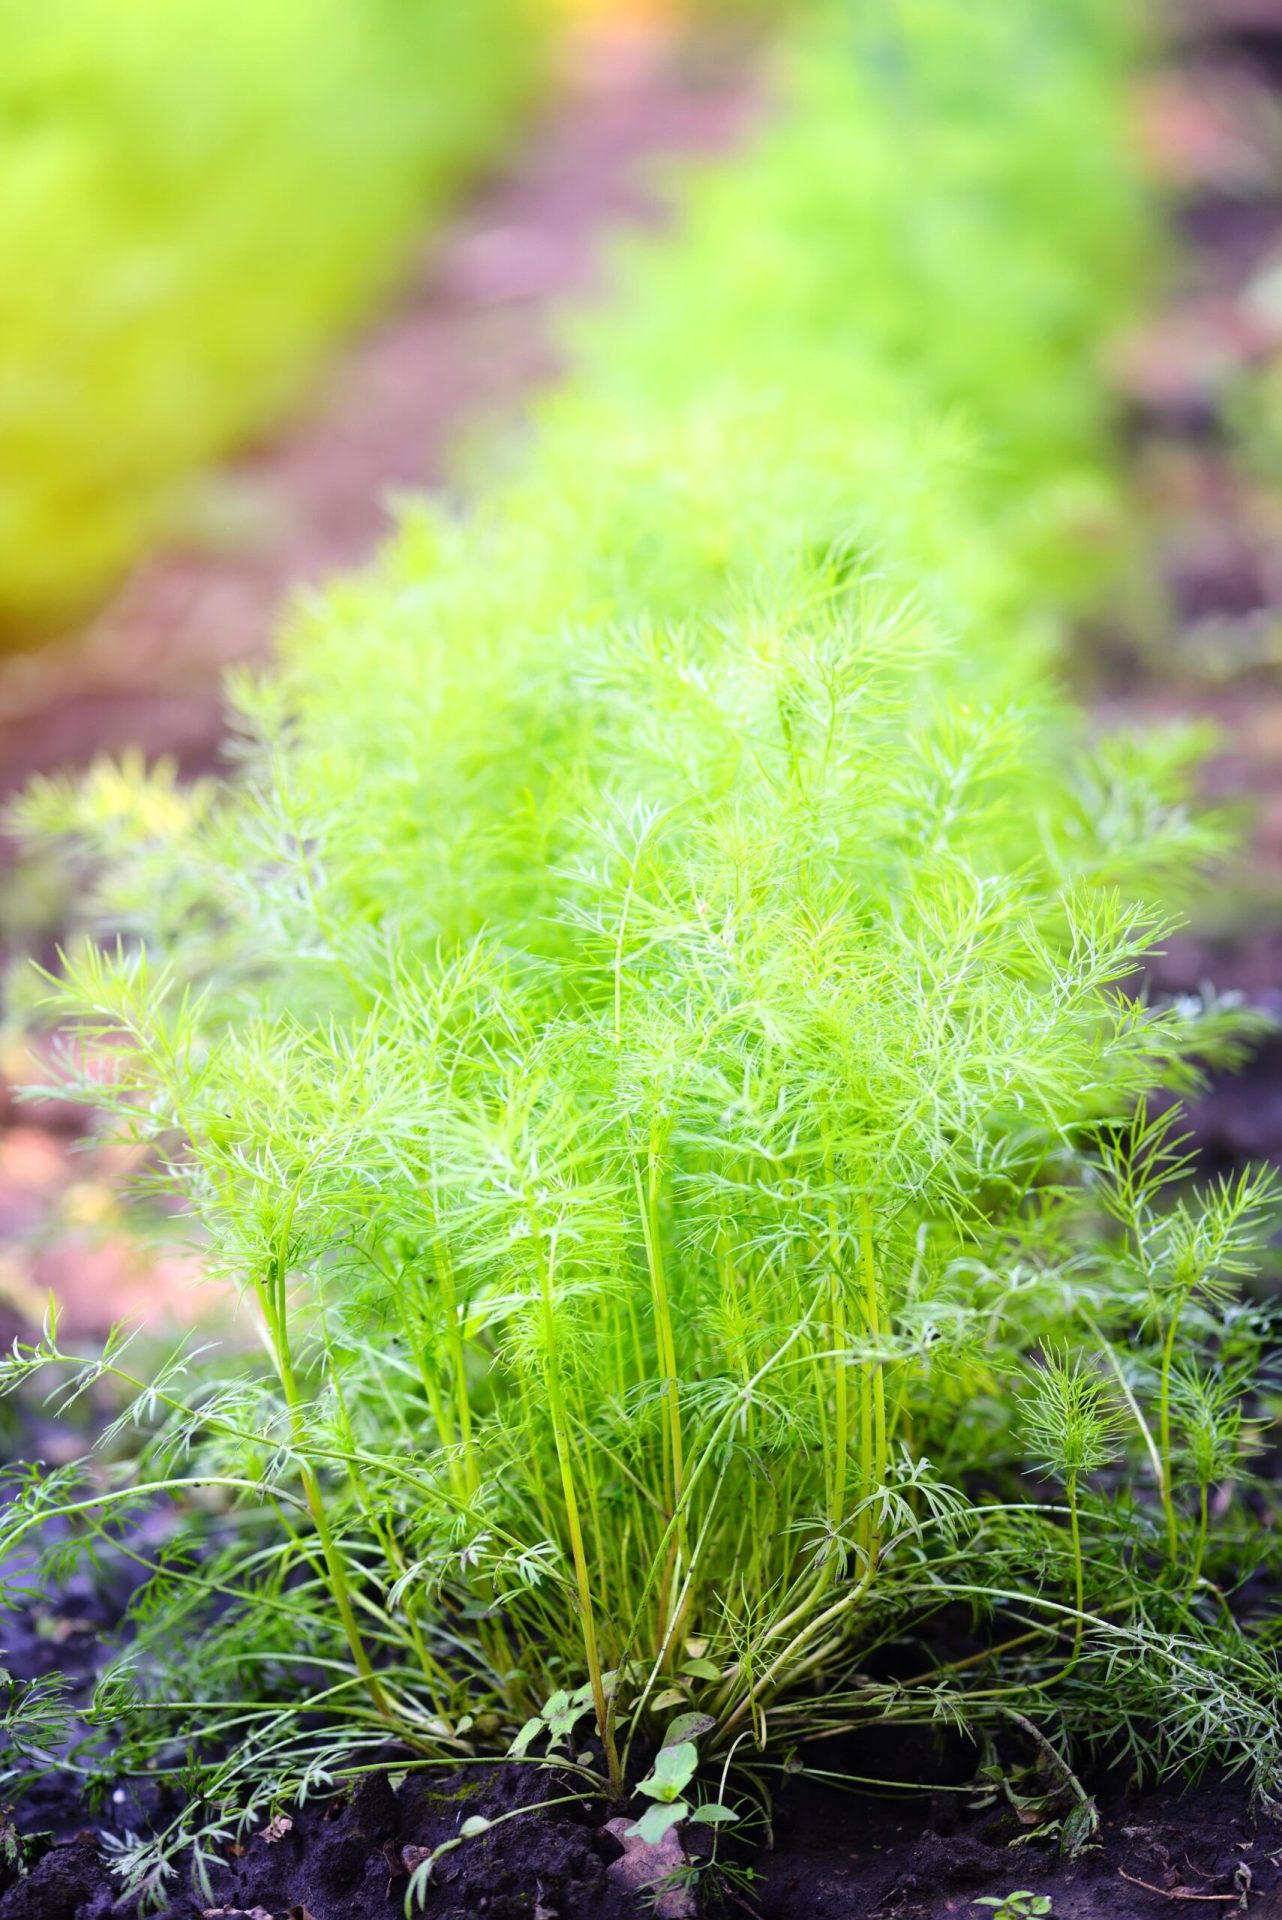
Dill Growing Stages
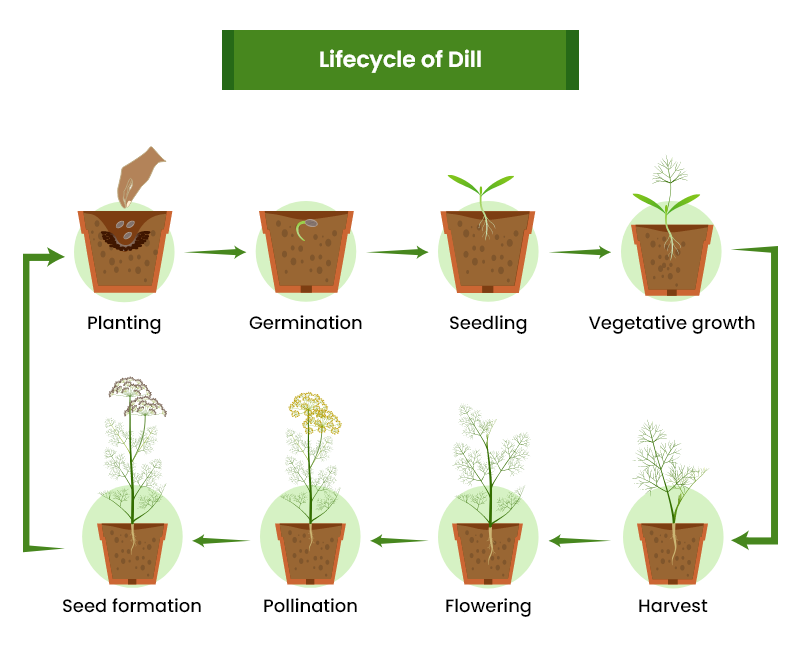
Germination
After sowing dill seeds, germination is the next step. Seeds transform as they absorb water and nutrients from the soil. This initiates the sprouting of new seedlings.
Within 5-14 days, seedlings emerge and resemble small weeds. The first set of true leaves distinguishes them from other plants. These true leaves have a feathery appearance.
Vegetative Growth
Dill seedlings develop a strong and healthy foliage structure, leading to a bountiful harvest. As the seedlings continue to grow, you will observe an increase in height and the emergence of an additional set of leaves.
Harvest
Harvest the plant when it has grown to about 4-5 inches tall and has several leaves. Stop when the leaves start changing color. Use a sharp knife or scissors to do a clean cut near the stem. Alternatively, you can pinch off the leaves using your nails.
Flowering
The dill plant undergoes transformation and produces a cluster of delicate yellow flowers at the top of each stem. The plant directs its energy from foliage growth towards flower production. The growth of new leaves slows down and even stops as the plant focuses on developing and maturing its flowers.
Pollination
The vibrant yellow flowers of the plant play an important role in attracting different pollinators and predatory beneficial insects. Bees help flowers make seeds by carrying pollen between them while collecting nectar, which leads to fertilization.
Seed Formation
Once the flowers successfully pollinate, they undergo a significant transformation as they close up and transform into seeds. When pollinated flowers begin to fade and wither, small seed pods develop in their place. Seed pods gradually mature and transform into seeds. Initially, they appear green, but they transform from green to golden brown as they ripen.
How to Harvest Dill?
Harvesting dill plants is easy but take care while harvesting them as the plant growth and foliage production depends on them. Snipping off excess dill herb can reduce the plant’s ability to recover quickly from trimming.
Timing also plays a vital role in harvesting dill. Harvest dill in the morning for the best flavor and aroma. This is because the oils in the leaves are most concentrated at that time.
Harvest Dill Seeds
- To harvest dill seeds, wait until they turn brown as the clusters gain weight.
- The seeds might require staking to keep them high and dry.
- Gather ripe seed heads by clipping them into a paper bag.
- Place this paper bag in a warm, dry place indoors for about a week or more.
Harvest Dill Weed
- Use sharp and sterile scissors to snip the dill leaves.
- Try to choose leaves near the top of the stem, as younger leaves tend to be more tender for things like salad.
- Leave the central stem and inner leaves intact for continual growth.
- Continue to harvest dill throughout its growing season to promote new growth and extend its harvest.
- Always water your dill plant the day before you plan to harvest it.
- It will ensure that your plants stay hydrated and recover quickly.
How to Store Dill?
Storing fresh dill leaves properly will help extend their shelf life. To store dill for a long time, you must ensure it is free from dirt, debris, and contaminants.
Let us discuss different ways to store dill fresh so that it will last longer without losing its flavor or wilting:
Refrigerate
- Refrigerating dill leaves keeps it fresh for a long time and preserves its flavor.
- To increase the life of fresh dill, rinse dill leaves with cold water.
- This will remove dirt or debris from the leaves.
- Remove excess moisture with a salad spinner.
- Wrap dill leaves in several damp paper towels.
- This retains moisture and prevents dill leaves from wilting.
- Place these leaves in an airtight container or a sealed plastic bag in the fridge.
- Keep it in the crisper drawer to reduce oxygen exposure for up to two weeks.
Dry and Store
- Dill is ideal for drying since they don’t retain moisture naturally.
- To dry dill leaves, start by pruning any discolored leaves.
- Gather its stems and make a bundle.
- Hang the bundle in a dry and dark place.
- After a few weeks, the dried dill would be ready to store.
- Store dried dill in airtight jars or containers.
Freeze
- To freeze dill, wash, dry, and chop fresh leaves.
- Portion these leaves into the ice cube trays and fill the trays with enough water or olive oil to cover the dill completely.
- Allow it to freeze.
- Frozen dill leaves will stay fresh for about four months.
Best Dill Varieties
Different dill varieties are available in the market, and they vary in size, maturity time, and flavor. Each of its varieties offers distinct flavors and has different physical characteristics and appearance.
Here are the best 3 dill varieties:
Fernleaf
You can grow this dill variety indoors. It is more compact and takes up less space compared to other varieties. This makes it easy to grow where there is limited space. You can grow this dill variety in a container or a small herb garden.
It grows well in mild weather and receives mild amounts of bright and indirect light. Windowsills or indoor growing locations satisfy its growing needs. Its leaves have a bushy and fern-like appearance.
After cutting, leaves retain their flavor for a longer time than other varieties. It is ready to harvest in 40-60 days for the leaves and 90-100 days for the seeds.
Delikat
This dill variety has abundant and thick, dense foliage. It is a reliable producer with a heavier leaf and seed yield than other varieties. Delikat grows in less time and grows up to 24 inches in height on maturity. Its foliage becomes ready to harvest in about 40 days, and seeds mature in 90 days.
It has bright yellow flowers and is well-known for producing several seeds. People use it for culinary purposes and canning. Another great feature of a Delikat is that it is disease-resistant compared to other varieties.
It takes only a month from planting to harvest. This means you can use this plant quickly as soon as you harvest it.
Herkules
Breeders specifically grow this dill variety to produce more harvestable herbs and have an intense flavor. When grown outdoors, this variety can grow up to 3 feet in height but requires support owing to its long and arching green leaves.
Its leaves are ready to harvest in three months. If you have other flowers in your garden, this plant will attract pollinators and make a great addition to your garden. It produces massive flower heads and bolts slowly.
This variety is excellent for growing in the garden as it attracts beneficial insects like bees and butterflies. You can harvest its leaves after 40-60 days. Its seed matures in between 90 and 100 days.
Common Pests & Diseases Problems with Dill
Even though dill is easy to care for, it still has its share of pests and diseases. Frequent pests like aphids, worms, whiteflies, caterpillars, slugs, and snails affect the growth of dill by feasting on this plant.
Diseases like fusarium wilt, damping off, leaf spot, mildew, nematodes, and rust can affect dill. These diseases can hinder the growth of dill.
To maintain the health of dill plants, monitor them regularly to check for signs of pests and diseases. Also, maintain proper cultural practices like spacing and adequate watering.
Companion Plants for Dill

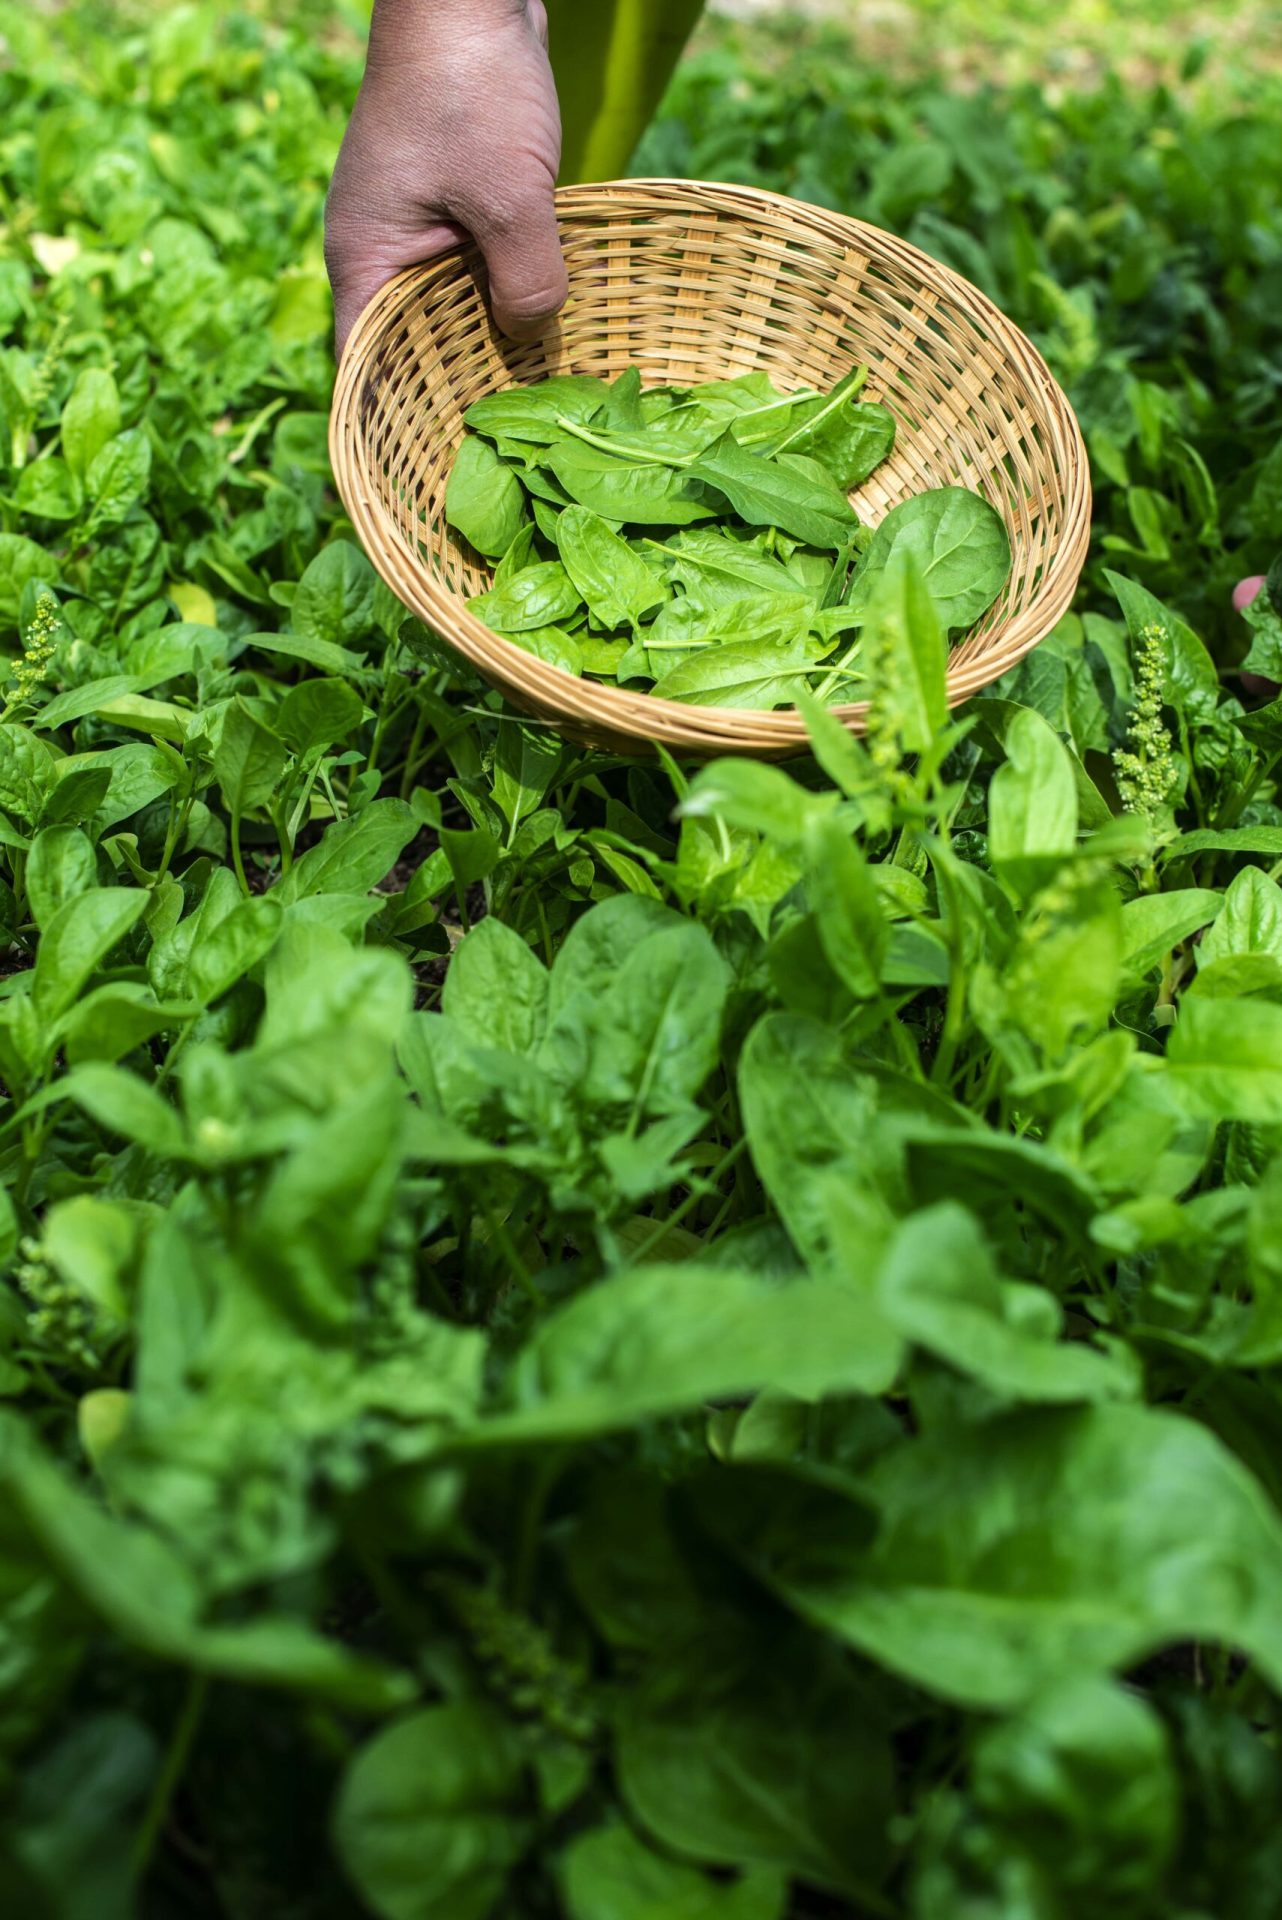
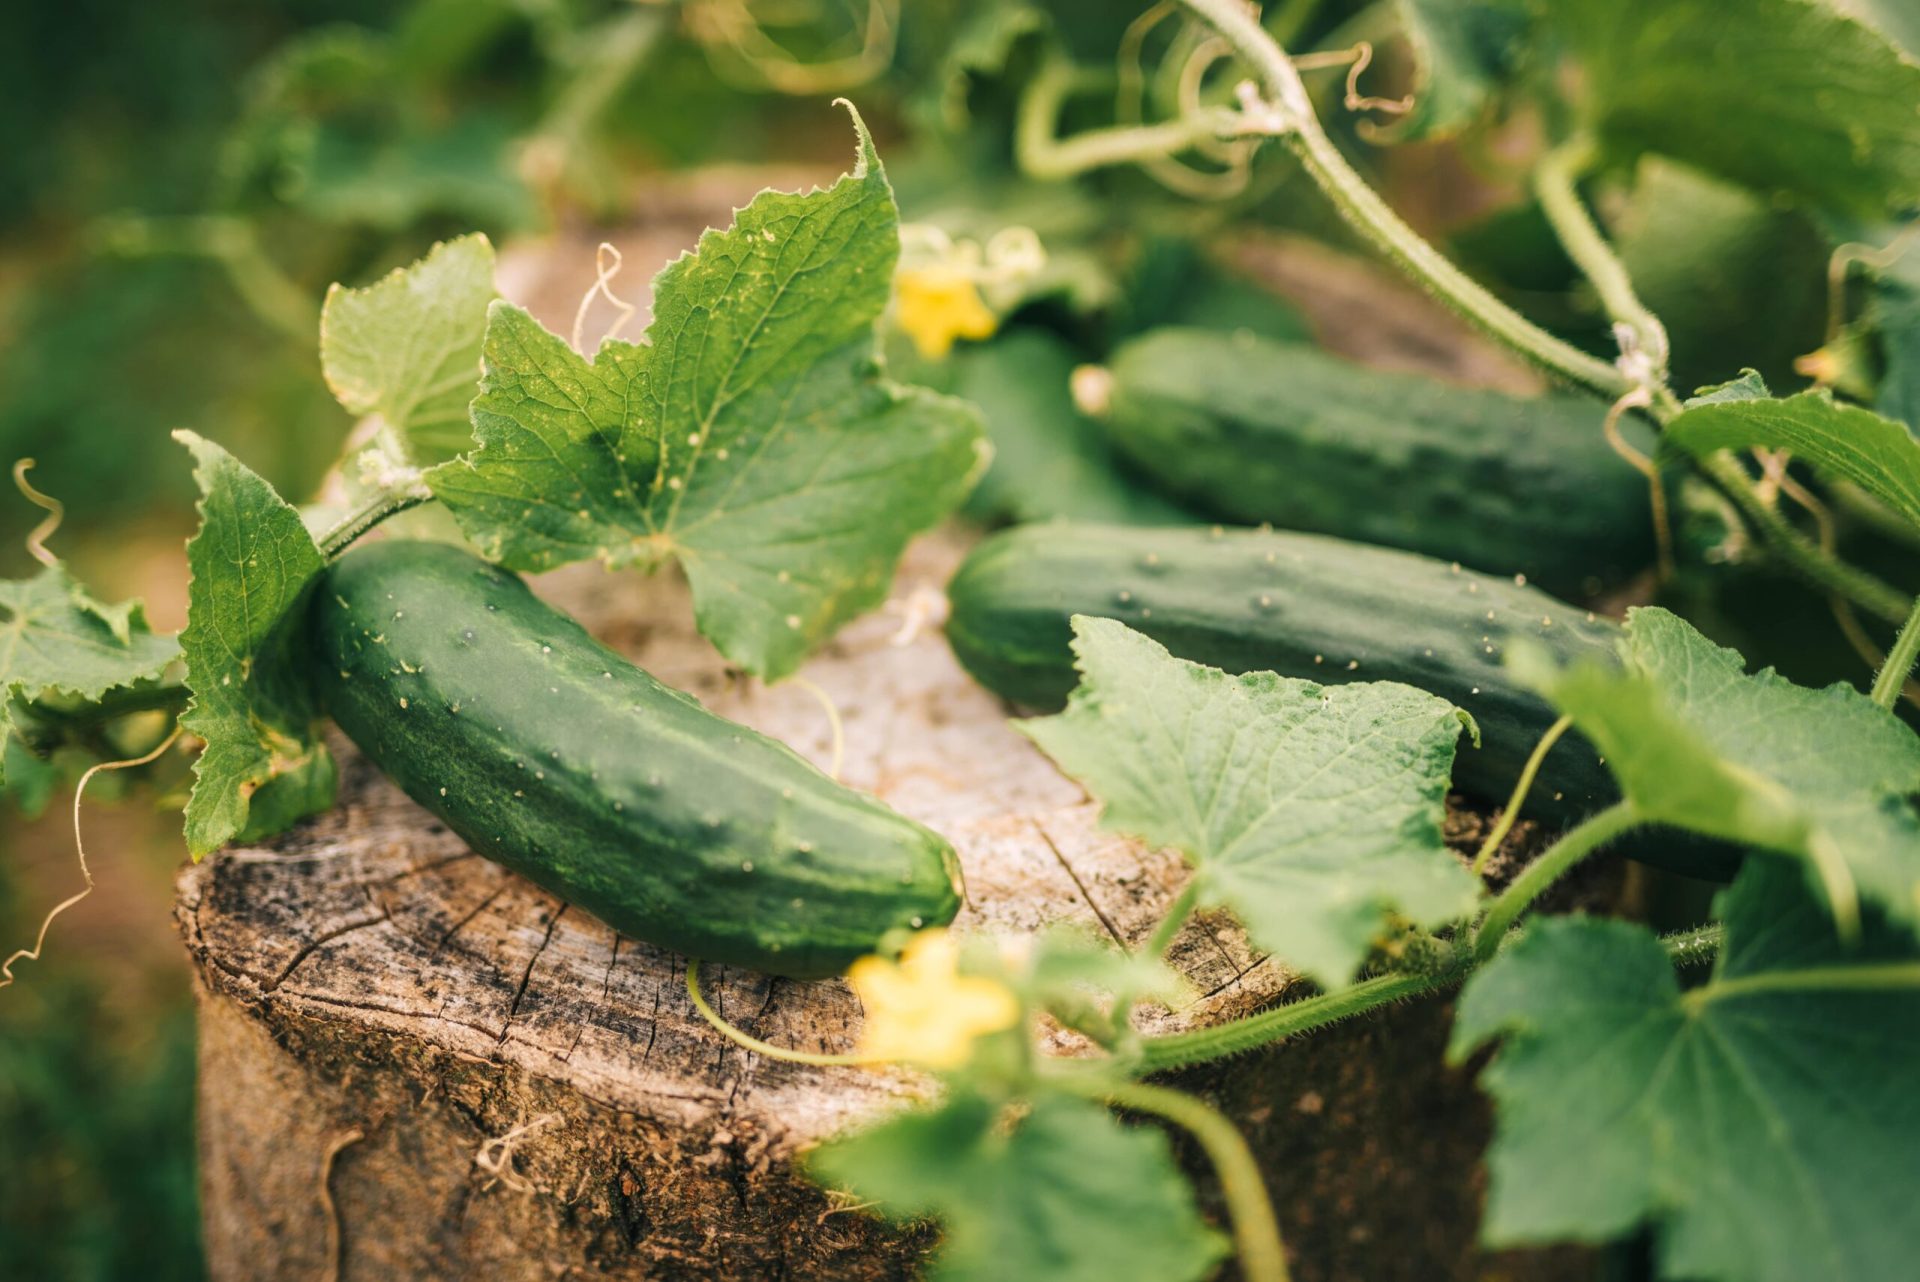
Dill is a popular herb used in different recipes and can do well when grown in the vegetable garden. Try growing asparagus, onion, lettuce, corn, cucumbers, basil, broccoli, beans, or eggplant near the dill plant.
These plants improve growing conditions by repelling pests, attracting pollinators, and using the available space in the best way.
Choosing the best companion plants for dill means having a healthy garden and an improved harvest. The best thing about companion plants is that they help a specific crop grow or grow better besides a particular crop. These plants can do several support jobs in the vegetable or herb garden.