Have you ever dreamed of enjoying fresh, homegrown corn on the cob? While it might seem daunting at first, growing this delicious summer staple is easier than you think! Need some help to get started?
This growing guide will equip you with all the knowledge you need to grow big, flavorful corn. Keep reading to learn about corn growing stages, planting conditions and seed selection. Whether you’re a seasoned gardener or a curious beginner, this guide will walk you through every step, ensuring a bountiful corn harvest.
Growing Corn 101: Step-by-Step Guide
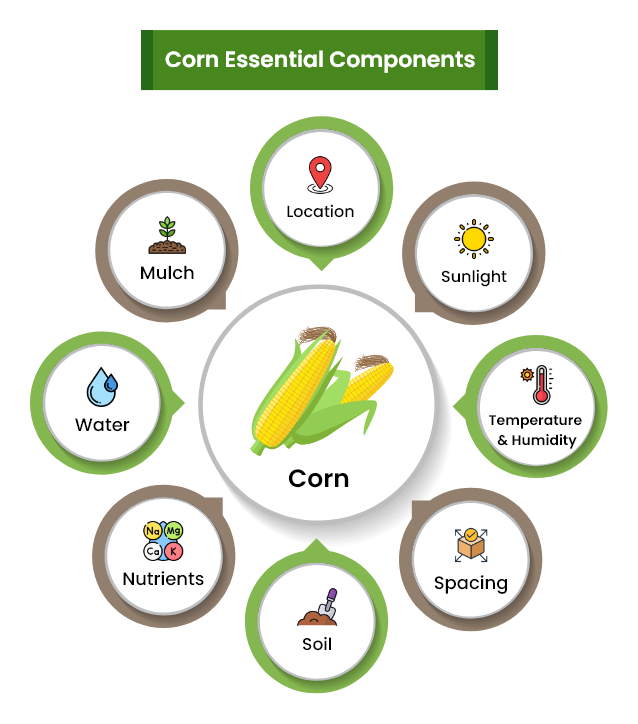
1. Location
Select a location that receives at least 6-8 hours of full sunlight daily.
2. Temperature and Humidity
The temperature should be 77-91°F and 62-74°F in the evening. Corn grows well with humidity around 50-80%.
3. Spacing
Space plants about 8-10 inches apart, and space rows about 2-3 feet apart.
4. Soil
Soil for growing corn should be well-draining, fertile, and have a pH of 6.0-6.8. Loose or loamy soil is perfect for growing corn.
5. Nutrients
Corn is a heavy feeder and requires a lot of nitrogen. Apply a balanced 10-10-10 fertilizer before planting.
6. Water
Aim to provide one inch of water every week.
7. Mulch
Mulch the soil surface using a thick garden compost layer to retain moisture and suppress weeds.
How to Grow Corn from Seed?
- Sow seeds in well-draining soil that’s rich in added organic matter like vermi-compost or bio-compost.
- Soil temperature should be consistently above 55°F.
- After the last frost date, plant seeds outdoors when the soil has sufficiently warmed up.
- Plant seeds in soil by placing them 1-2 inches deep. Follow spacing guidelines on the seed packet.
- Sow seeds in blocks instead of rows for kernel development and pollination.
- Water regularly throughout the growing season, especially during dry periods.
How to Grow Corn in Containers?
- Select a container that’s about 12 inches in diameter and depth.
- Ensure the container has holes at the bottom for adequate drainage.
- Each 12-inch container can hold about four corn plants.
- As corn plants are heavy feeders, amend the soil with fertilizer or compost before planting.
- Keep the soil moist by regularly watering plants.
- Place the container in a location that receives full sun.
How to Transplant Corn Seedlings?
Corn typically doesn’t like to be transplanted. Instead, you’ll want to direct sow corn seed. However, if you must, follow these steps for transplanting your corn seedlings:
- Transplant corn seedlings when they are about an inch or two tall.
- Transplant one to two weeks after last frost.
- Before transplanting, hardening off the seedlings, gradually exposing them to more sun each day.
- To transplant seedlings, gently remove them from the peat pods and leave the soil attached.
- Dig holes as big as the pods they came from.
- Plant each seedling in a hole and cover it gently with more soil.
- Water each seedling adequately and add more fertilizer during this time if required.
When to Plant Corn?
Sow corn directly in the garden so that their sensitive roots are not disturbed when transplanting.
Corn is sensitive to frost, so do not plant until the soil temperature is at least 60°F or 65°F for sweet varieties. Usually, this is about 2 or 3 weeks after the last frost in spring.
How to Plant Corn?
- Select a location with 6-8 hours of daily sunlight and rich soil.
- To speed germination, moisten seeds and wrap them in moist paper towels. Store them in a plastic bag for about 24 hours.
- Sow seeds about 1.5-2 inches deep and 12 inches apart in rows about 2½-3 feet apart.
- Place 2 or 3 corn seeds inside each hole.
- Cover the seeds with a light layer of soil.
- If more than one seed starts sprouting from a single planting, thin to the strongest seedling.
- Plant short corn varieties closer, and sweeter varieties shallower.
- Choose to fertilize when planting with a general purpose 10-10-10 fertilizer.
- Water well after planting.
Corn Growing Stages
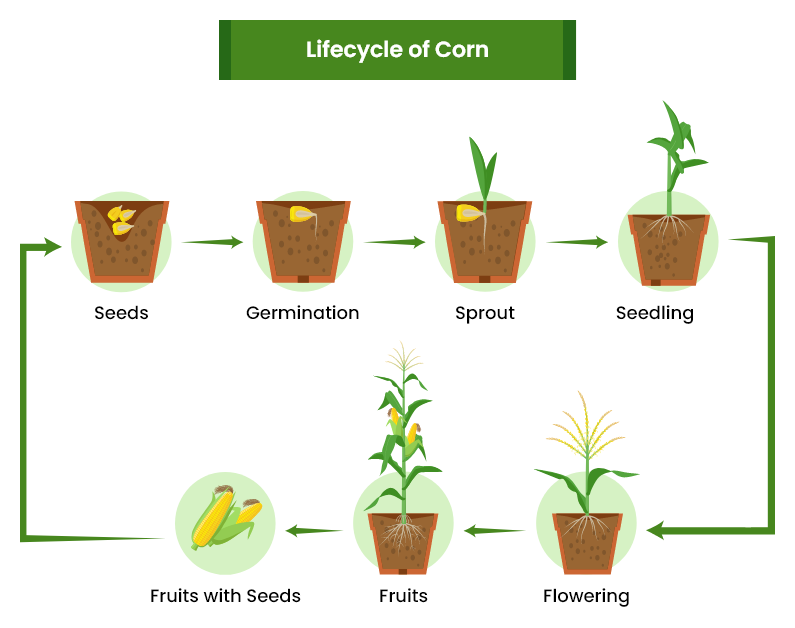
1. Germination
With sufficient water and soil temperature, the seeds absorb moisture and start germinating. You need to provide an inch of water to seeds every week. Germination begins after 2-3 days of planting. However, it also depends on environmental conditions.
The visual change in seeds depends on the seeds’ planting depth and surface area. The germination process may take up to 14 days.
2. Vegetative growth
Expect the beginning of coleoptile/sheath that protects the plant to start emerging. Each leaf’s growth is visible once the initial emergence is complete. The first visible leaf can be identified easily since it has only a rounded end.
The leaves of corn bear a pointed tip. When the growing point moves above the soil, tillers become visible.
3. Shaping and development
The plant grows speedily and starts to take its classic corn shape. At this stage, ear shoots or potential ears of corn start to appear along the plant’s length. Ear shoots can be seen on the upper length of the plant, the shoots that become full ears of corn. You will see the development of tassel formations all over the corn.
Consistently maintain the plant for a better overall yield at its harvest time. Try to understand the plant’s requirements during this stage, be it soil fertility, moisture, or water level.
4. Leaf production end
The final stage of vegetative growth is identified by corn tassels. At this point, it would be fully extended, even though silks will not have yet emerged. The tassels would be visible around 2-3 days before the silk emerges.
You will not see any leaves appear once the vegetative stage ends. At the end of the leaf production stage, the plant starts shedding its pollen.
5. Reproduction
The corn grows fully, and its ears are still mature. The complete number of kernels and rows of the ears is determined. The plant focuses on reproduction through the development of kernels in their husks.
This stage begins with the emergence of silks from the end of the husks. The first kernels appear on the corn during this stage.
6. Maturity
The black abscission layer where the kernels attach to the cob has formed. It indicates that kernels have fully developed.
The starch on the kernels has now reached the cob. It provides the corn with a deep yellow color and high moisture content.
How to Harvest Corn?
Harvesting corn is an exciting time for corn enthusiasts. Timing is vital in ensuring the harvest of the best corn quality for storage. The ideal time to harvest corn is when its kernels are fully formed, plump and its husks have turned a deep green color.
You only need to squeeze a few kernels gently to check their firmness. The corn is ripe and ready to harvest if the kernels release a milky liquid.
- Harvest corn using a sharp knife/shears to cut the stalks about 1 inch above the ground.
- Avoid pulling the corn stalks, as it can damage the plant and affect the corn’s quality.
- After harvesting, handling the corn with great care to prevent damaging the corn kernels.
- Place the corn ears gently in a container or basket. Ensure they are stacked high enough to avoid crushing them.
How to Store Corn?
Corn starts to dry out quickly as soon as it is harvested. Exposing sensitive kernels to air speeds up this process. Properly storing corn is essential to maintain its quality and freshness.
Follow the below steps to store corn on the cob:
- Avoid removing the husk until you want to use it.
- To keep corn fresh for a long time store it unwashed and unpeeled in a plastic bag in the fridge’s crisper drawer.
- To store cooked corn, keep it in the refrigerator. Transform it into an airtight container or plastic wrap. Store it on the bottom shelf of fridge.
- You can store corn in the freezer for a long time. Before doing this, remove it from the knob, blanch them, and store them in an airtight container.
Best Corn Varieties
1. Honey Select Hybrid
This triple sweet corn variety combines 75% SE and 25% SH2. This blend of cultivars creates corn, which is sweet and rich in taste. You can harvest it in 80 days, with ears eight to nine inches long. Its stalks reach up to six feet tall.
This variety is an All-American Selection winner, which won based on taste and easy growing process. It prefers average and loamy soil, which is moist and well-draining.
2. Golden Bantam
This corn variety made yellow corn famous in the U.S. This yellow corn variety sprouts quickly in the cool soil. You can plant this variety sooner than other sweet corn varieties.
Its stalk reaches about five feet in height and bears ears of corn that measure between 5½ and 6½ inches each. It takes about 80 days; you can enjoy ripe and delicious corn.
3. Ruby Queen Hybrid
It got its name owing to its deep red and vibrant red shade. It is a bright ruby, and the kernels are tender and sweet. You can grow this corn variety if you have a location that receives full sunlight and has rich, fertile, and well-draining soil. The other option is to let it ripen to allow it to develop the corn color and flavor fully.
You can harvest this corn variety in 75 days on stalks 7 feet tall. Its ears measure 8 inches long with 18-20 rows of yummy kernels. You can either microwave, boil, or steam the corn.
Common Pests and Diseases Problems with Corn
Corn is susceptible to different pests and disease challenges, which can impact its yield and quality. Some common pests that can harm corn include black cutworm, fall armyworm, and corn earworm. They eat kernels and leaves, causing damage to the corn.
Diseases like corn smut, seed rots, rust, seedling blight, and Northern corn leaf blight, weaken plants and impact the productivity level of the crop. You can implement integrated pest management strategies like crop rotation, use resistant variety, and follow timely application of pesticides.
This helps to effectively manage pests, disease issues and guarantees successful cultivation of corn.
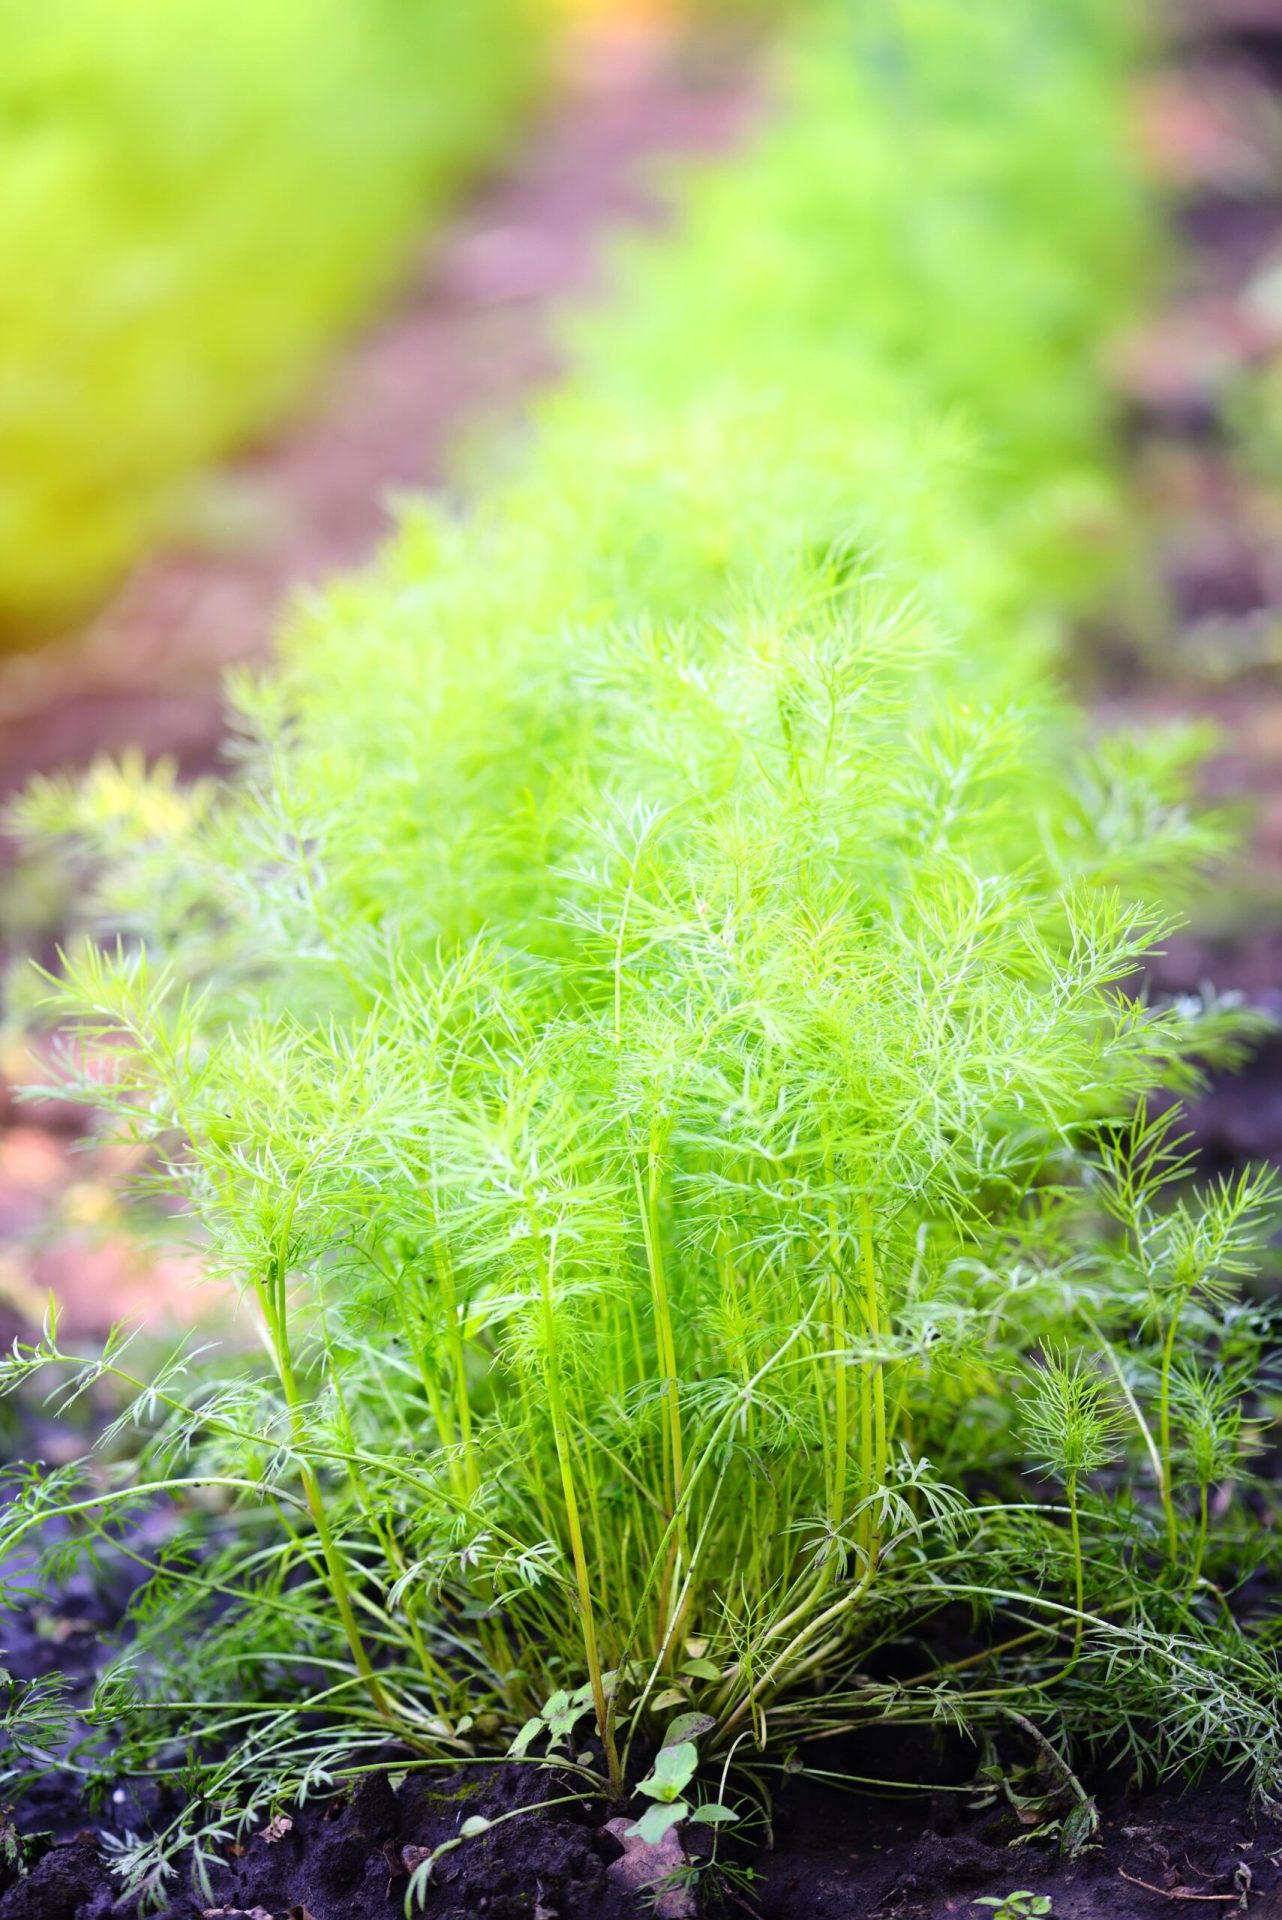
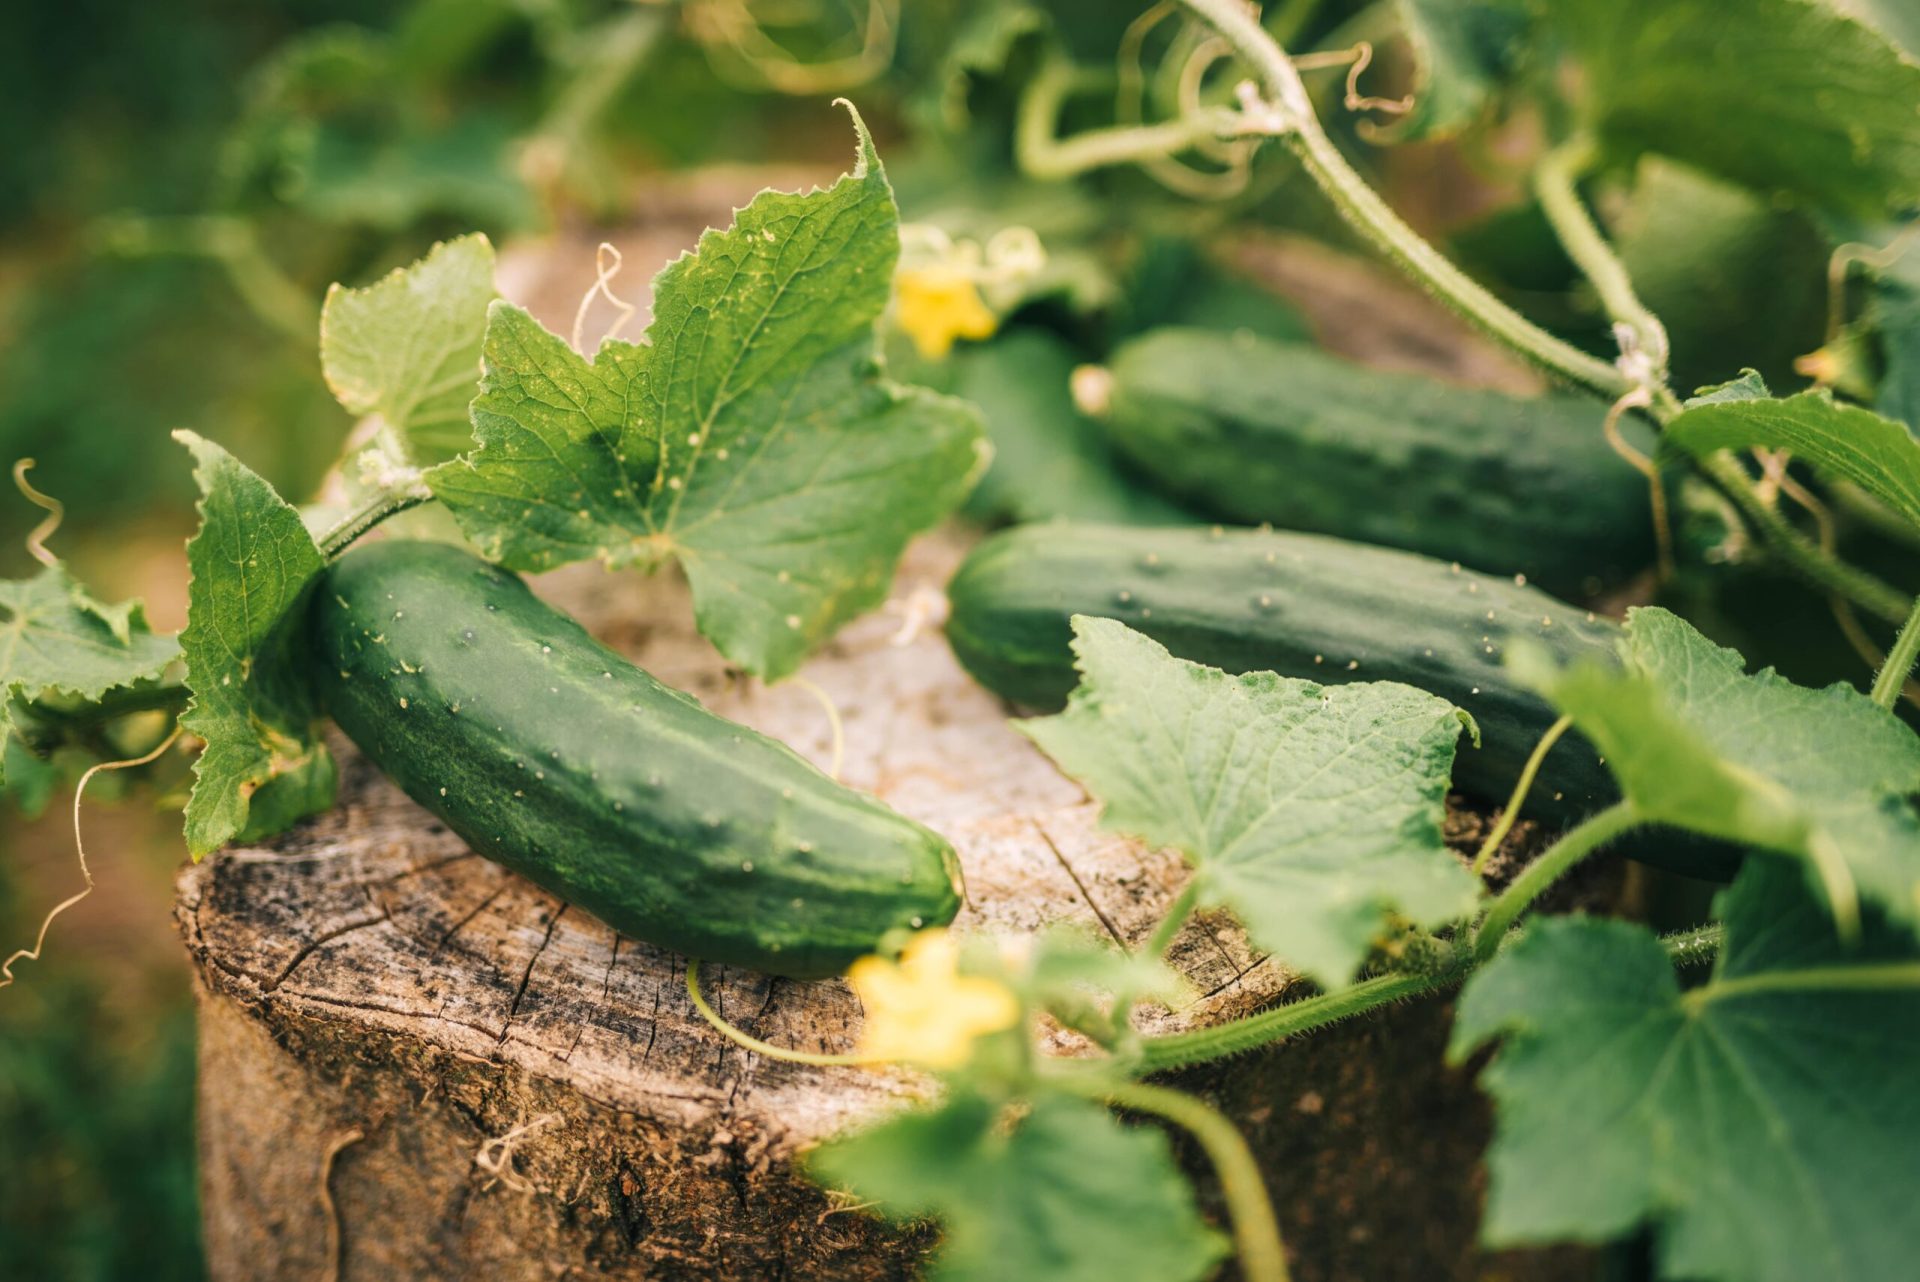
Companion Plants for Corn
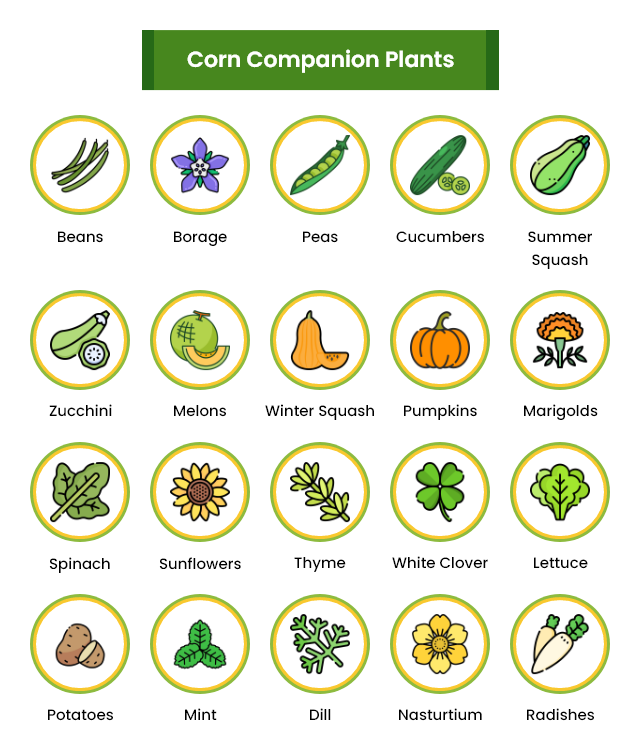
Companion plants attract beneficial insects, offer shade, suppress weeds, and improve soil fertility. Plants that benefit alongside corn are melons, cucumbers, beans, squash, lettuce, radishes, and marigolds.
Consider spacing and growth habits to ensure they don’t compete with the main crop for water, sunlight, and nutrients. Crop rotation prevents pests and disease buildup in the soil.